More and more manufacturers in the bicycle industry like Specialized, Cube, and Trek bikes are offering products to convert existing bicycle wheels with tubes to tubeless systems. With tubeless wheels, a bicycle tube is completely dispensed and the tire is only sealed with a special sealing tape and sealing milk. With the Muc-Off Ultimate Tubeless Setup Kit, this conversion is effortless. In this article, we will show you step by step how to make this tubeless conversion.
You need these tools and products to convert your wheel tubeless
Before you start rebuilding your wheel, you should make sure you have all the tools and products you need ready. Nothing is worse than realizing during a rebuild that a specific part is missing.
- Tire levers to get the tire off the rim (at least 2 pieces are advisable)
- an air pump with a pressure cartridge or a compressor, because pumping up a tubeless system should happen suddenly with a lot of pressure. With a classic bicycle pump, sufficient pressure cannot be built up and the air escapes again during inflation.
- Scissors to shorten the rim sealing tape.
- Muc-Off Ultimate Tubeless Setup Kit (here is the one for Enduro/DH)
- rag / cloth
- brake cleaner
- A needle or sharp object to pierce the rim tape.
- If your tires are particularly tight on the rim or are difficult to install, a little soapy water can help them slide over the rim better.
The essential prerequisite for your tubeless conversion is that both your rims and tires are “tubeless ready.” This means that with the right precautions, such as sealing milk and sealing tape, they may retain the air inside without the use of a bicycle inner tube. Tires and rims that are not labeled “tubeless ready” can lose air and are therefore unsuitable for long-term and effective tubeless conversion.
The step-by-step instructions for the tubeless conversion on the bike
Many cyclists are hesitant to convert to tubeless tires, despite the fact that they would get multiple benefits from doing so. The myth that a tubeless conversion is difficult persists, and we hope to disprove it with these instructions. Even inexperienced riders may quickly convert it with the Muc-Off Ultimate Tubeless Setup Kit.
1. Preparation
In the first step, you prepare the conversion, you should remove your wheel from your bike and pull the tire off the rim. Next, remove the tube and the existing rim tape. Once you have removed everything, you should check your rim for any damage and dirt.
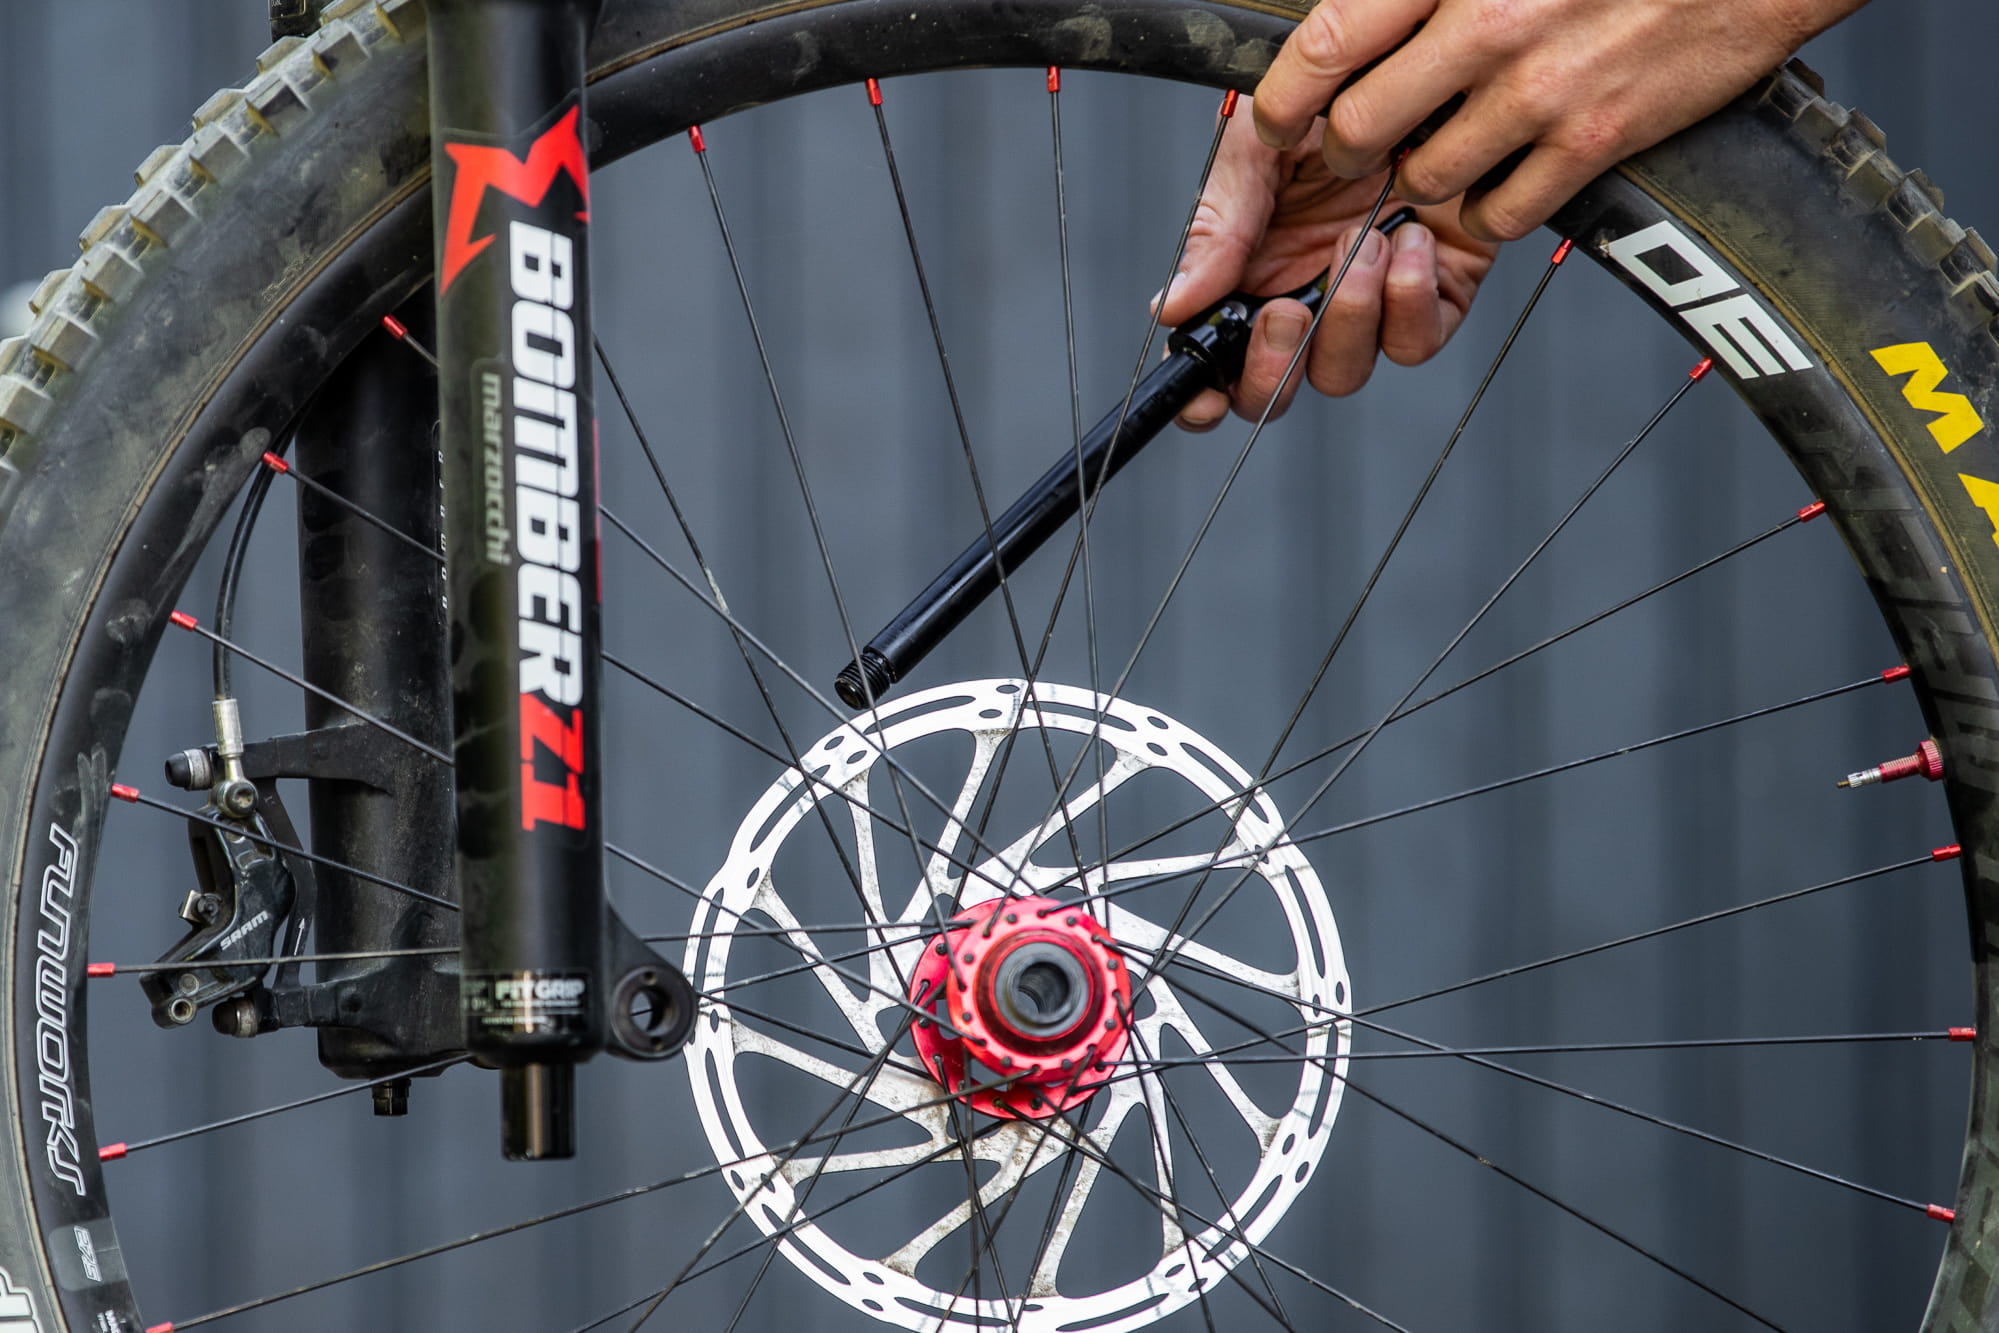
First, you remove the wheel from your bike.
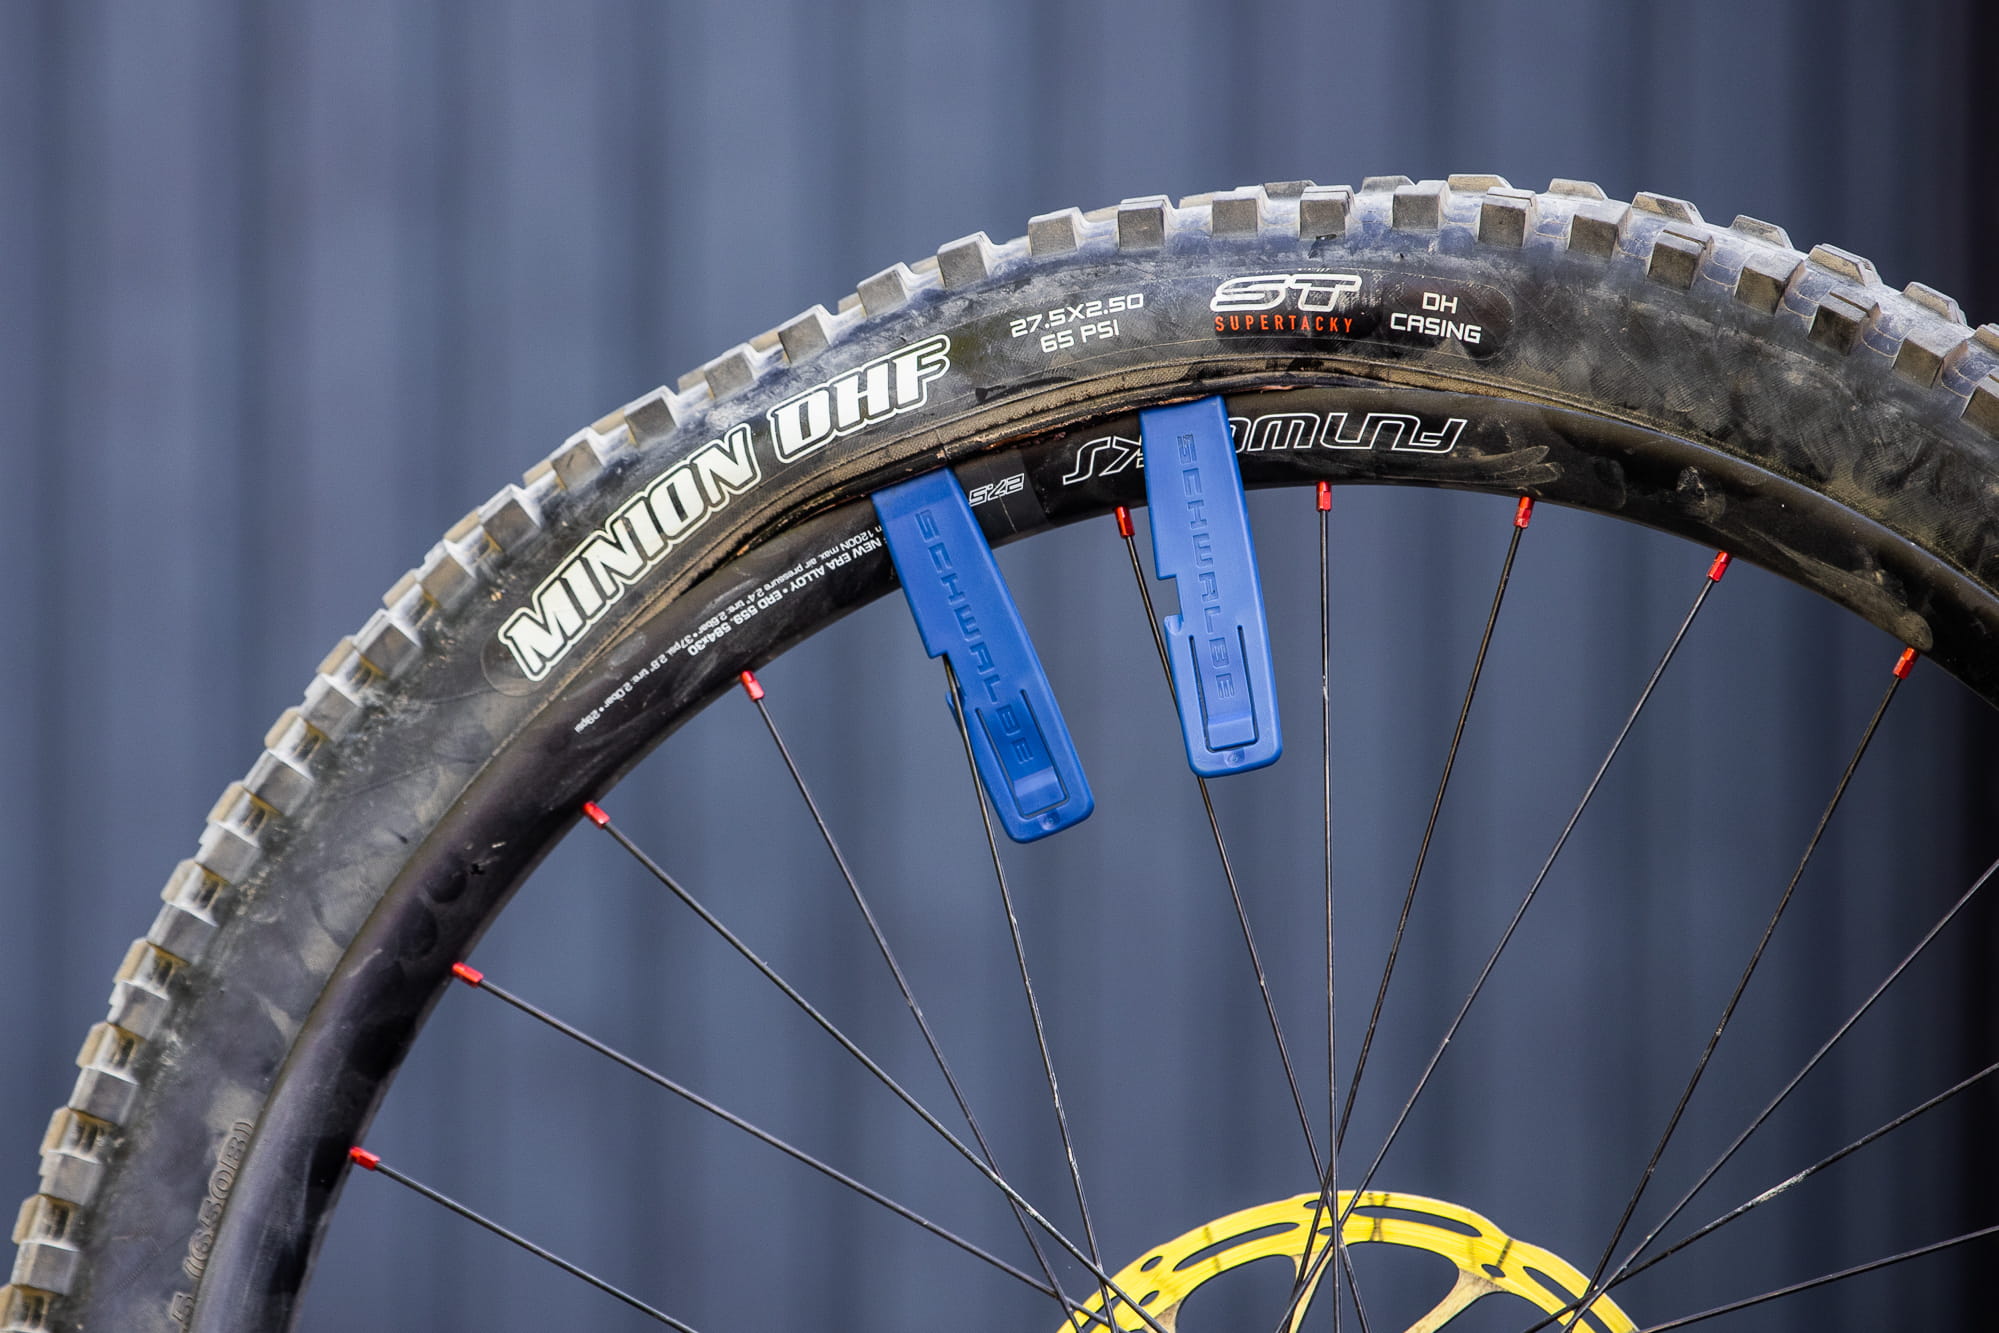
Next, pull the tire off the rim.
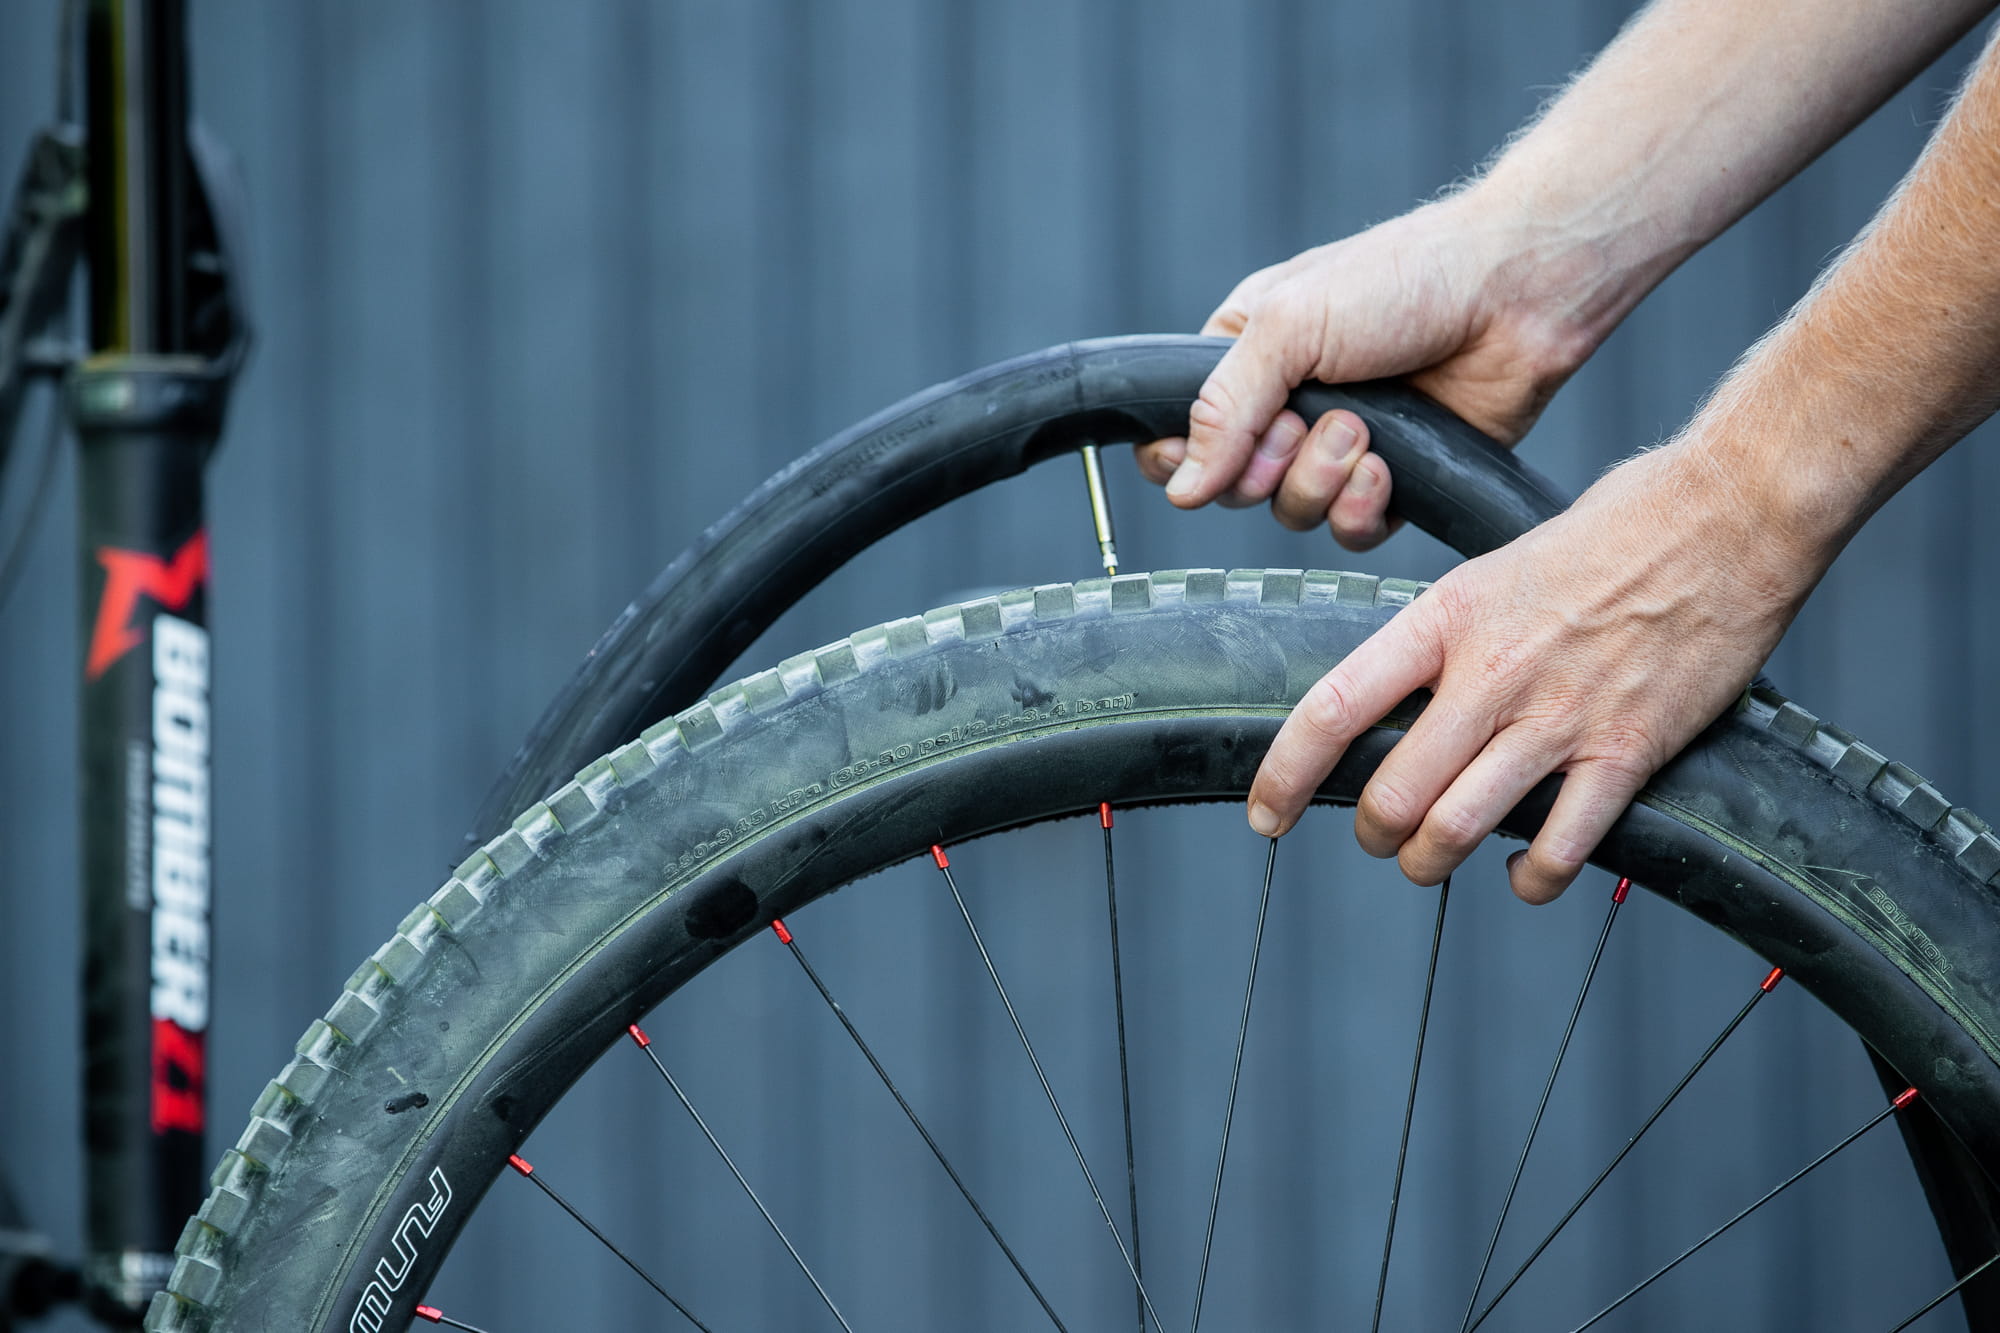
Take out the tube and completely remove the tire from the rim.
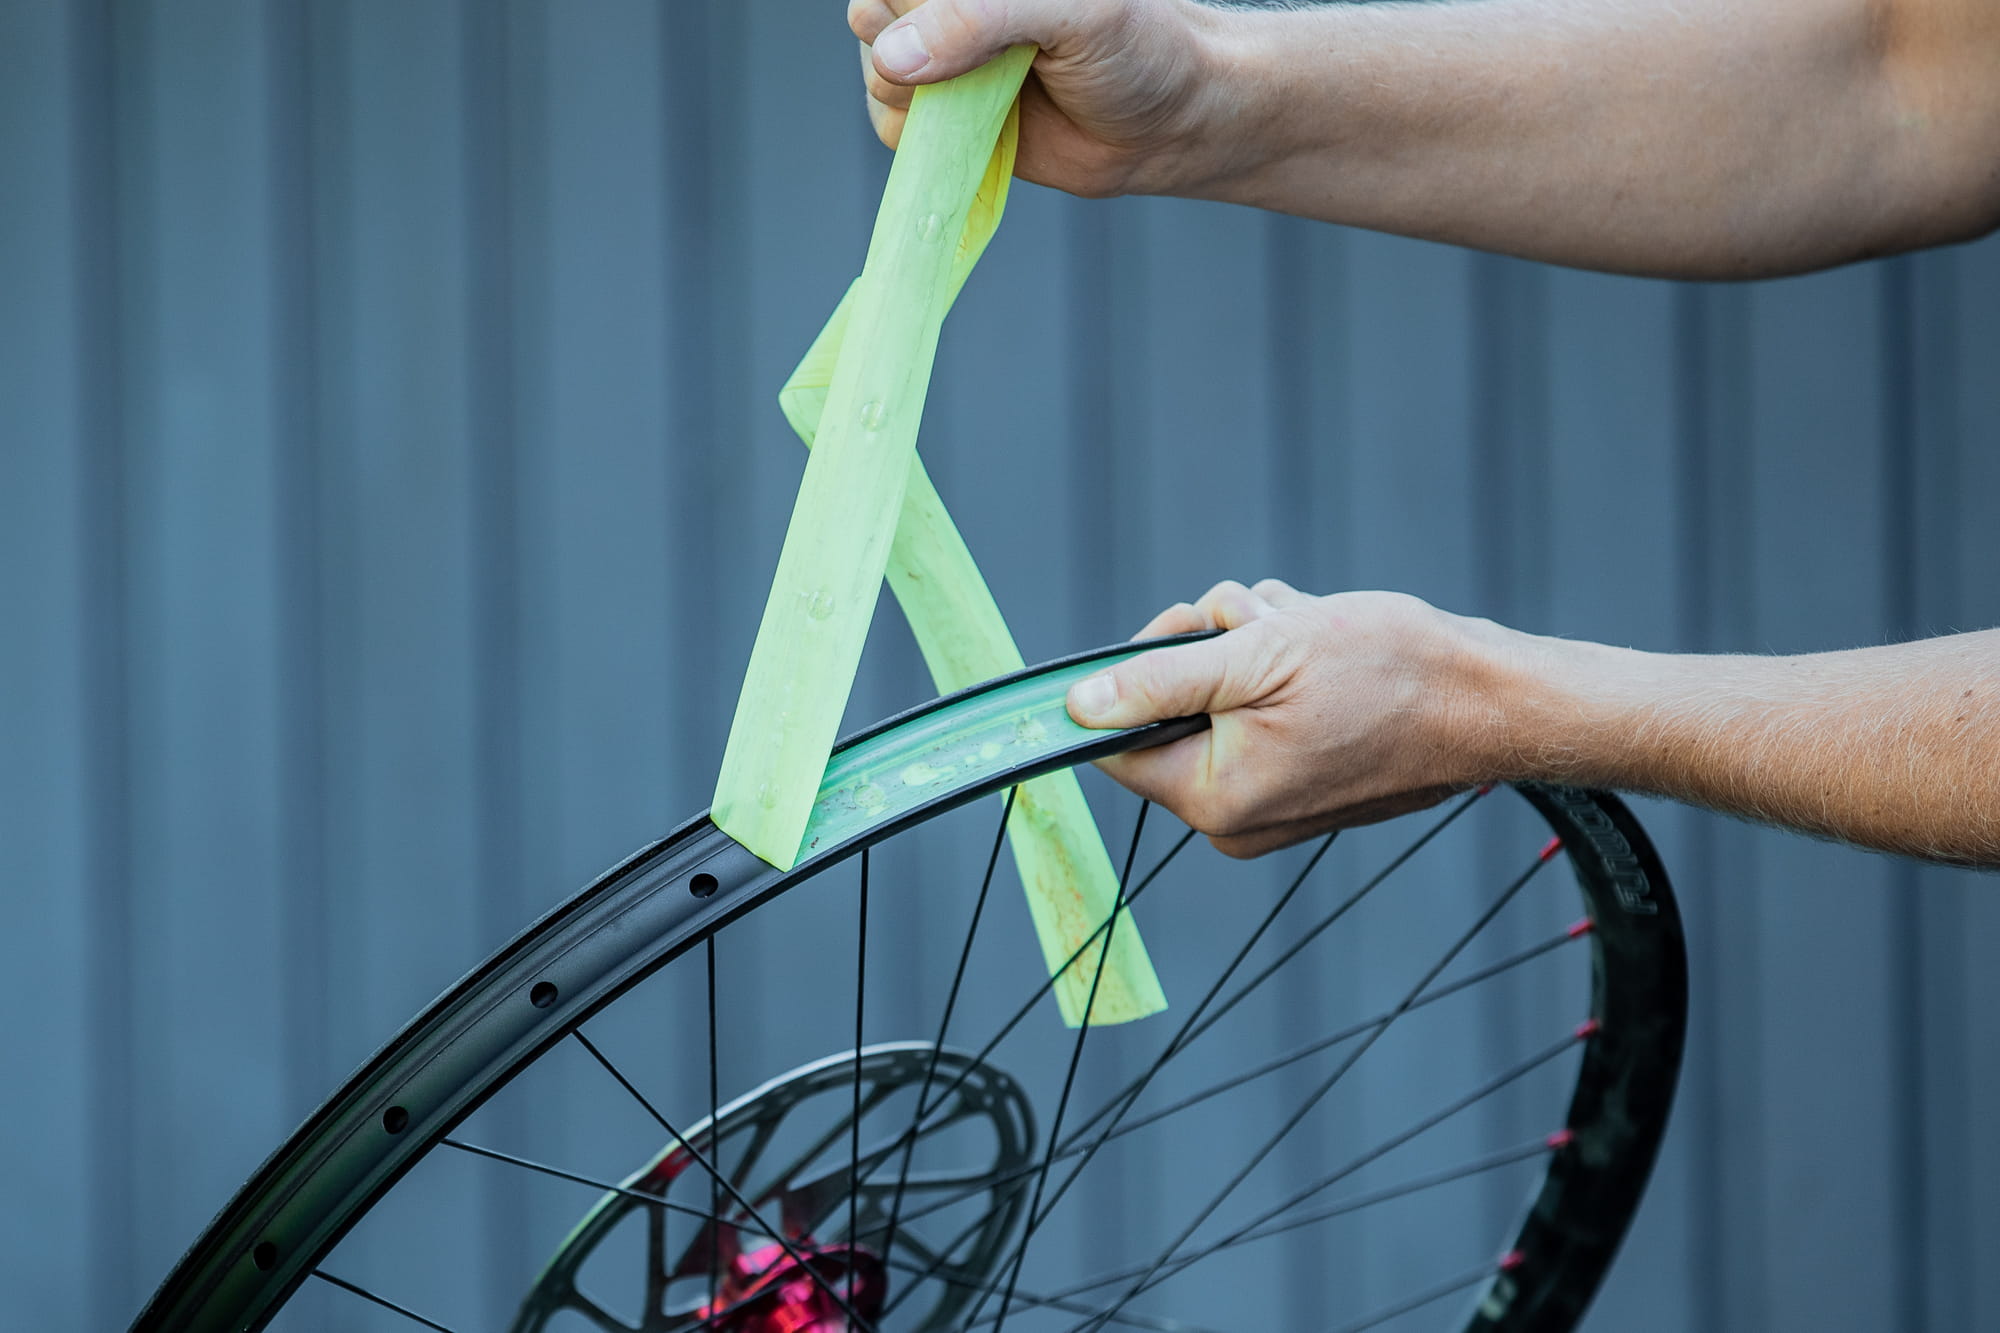
Remove the rim tape.
It is best to use a clean cloth and brake cleaner. In this way, you can be sure that any residues of grease or other lubricants that could otherwise impair the adhesion of the tubeless rim tape are removed.
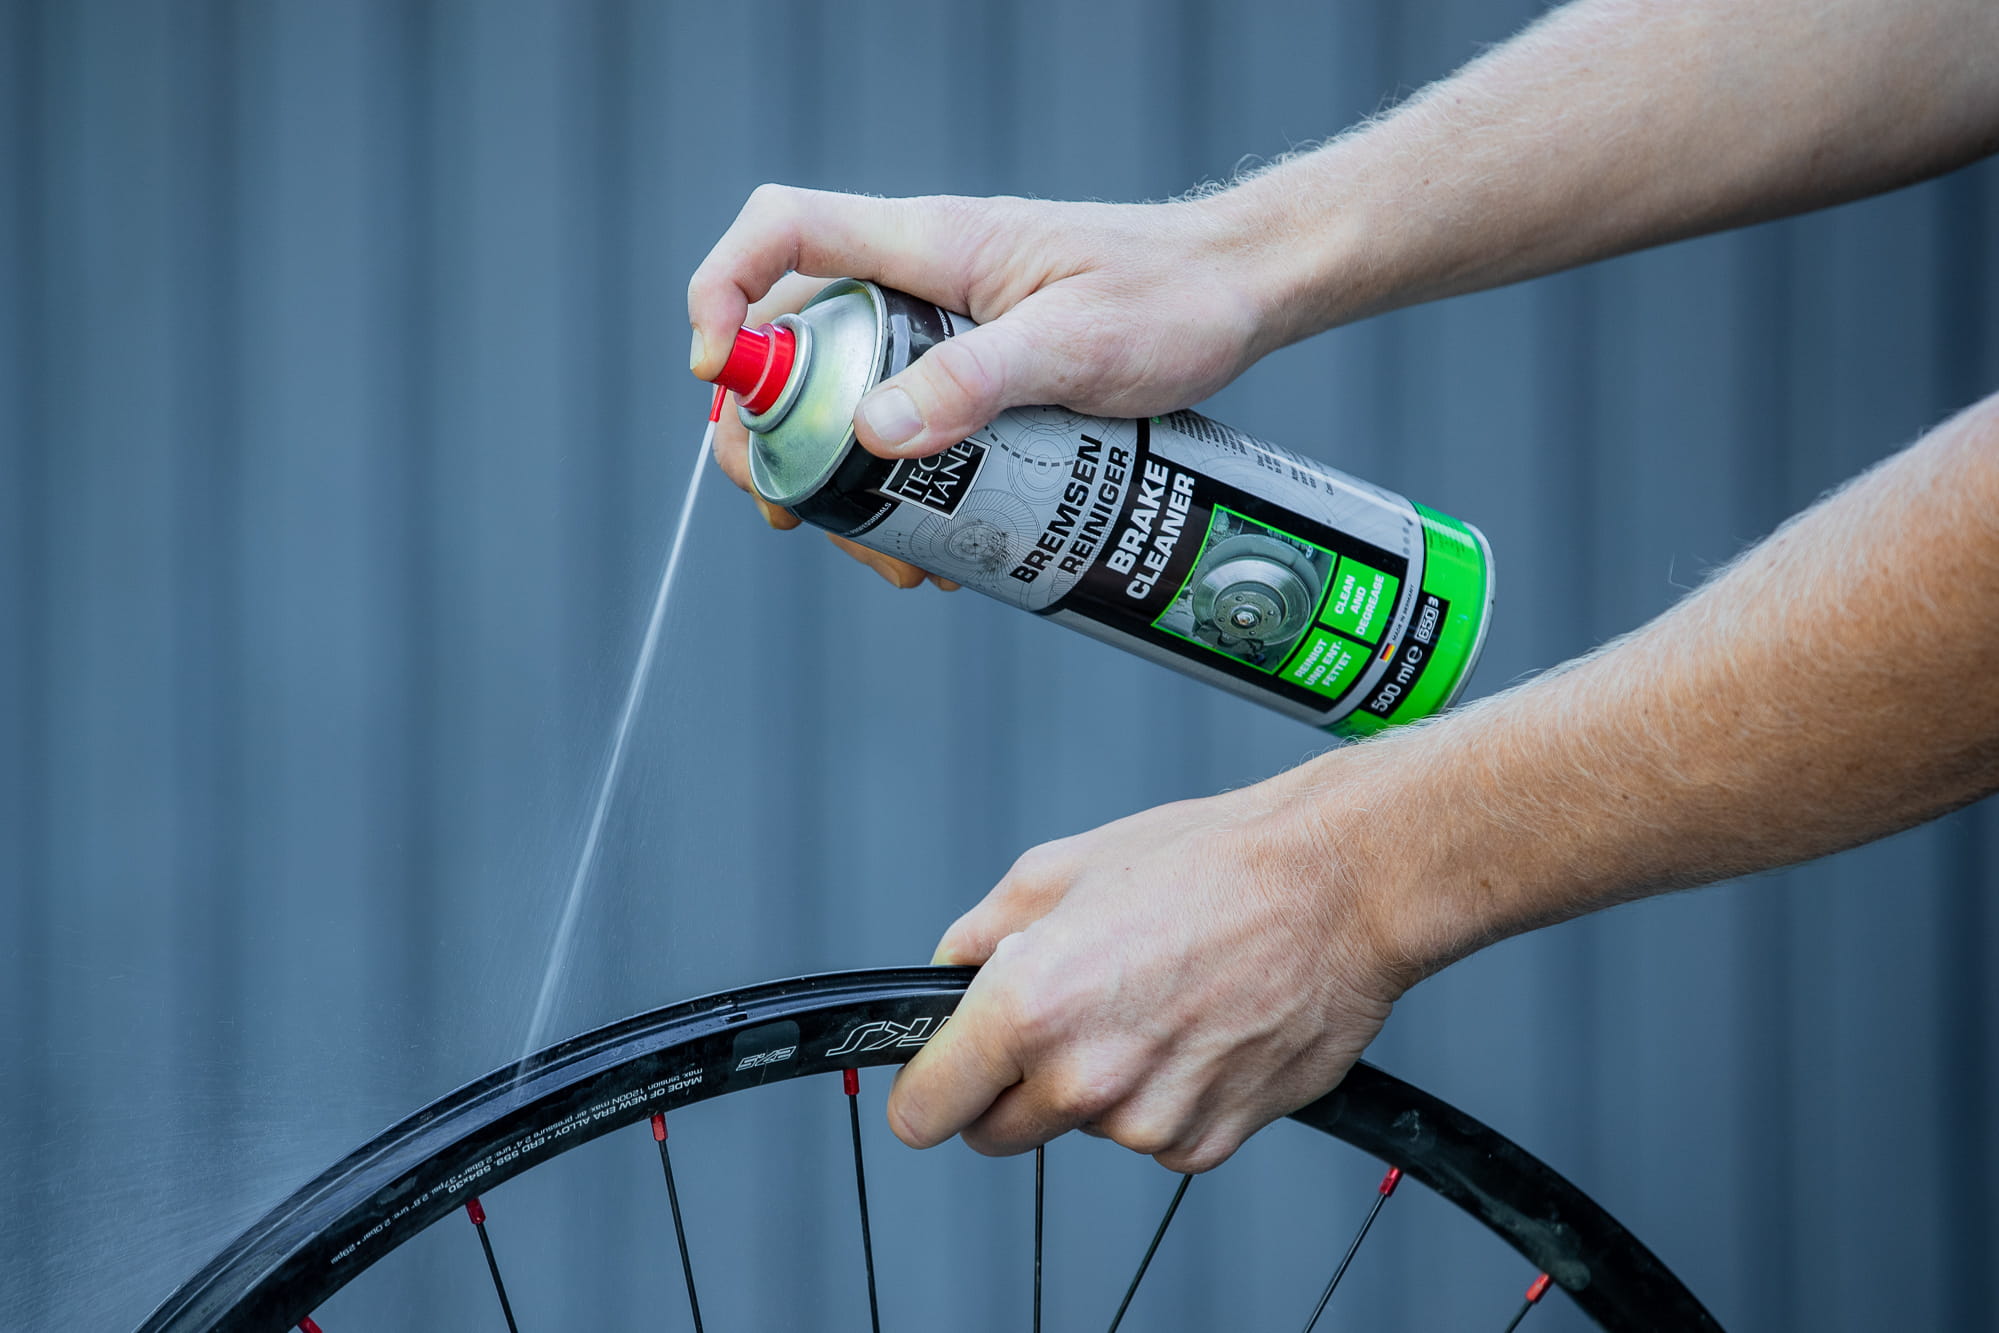
Clean the rim with brake cleaner and a cloth or rag.
2. Assembly of the tubeless rim tape
The tubeless rim tape is then assembled. Take your wheel and begin putting the rim tape. Begin on the other side of the valve hole in the rim. With your thumb, press the rim tape into the center of the rim well. The rim tape will hold itself after a few centimetres and you will no longer need to hold on to the beginning.
Glue the rim tape all the way around, leaving a 10-15 cm overlap, and cut the rim tape to length with scissors. Finally, the sealing tape is visually and pressure tested. Check that no air bubbles have formed under the rim tape and that it is centered in the rim well by running your thumb over it.
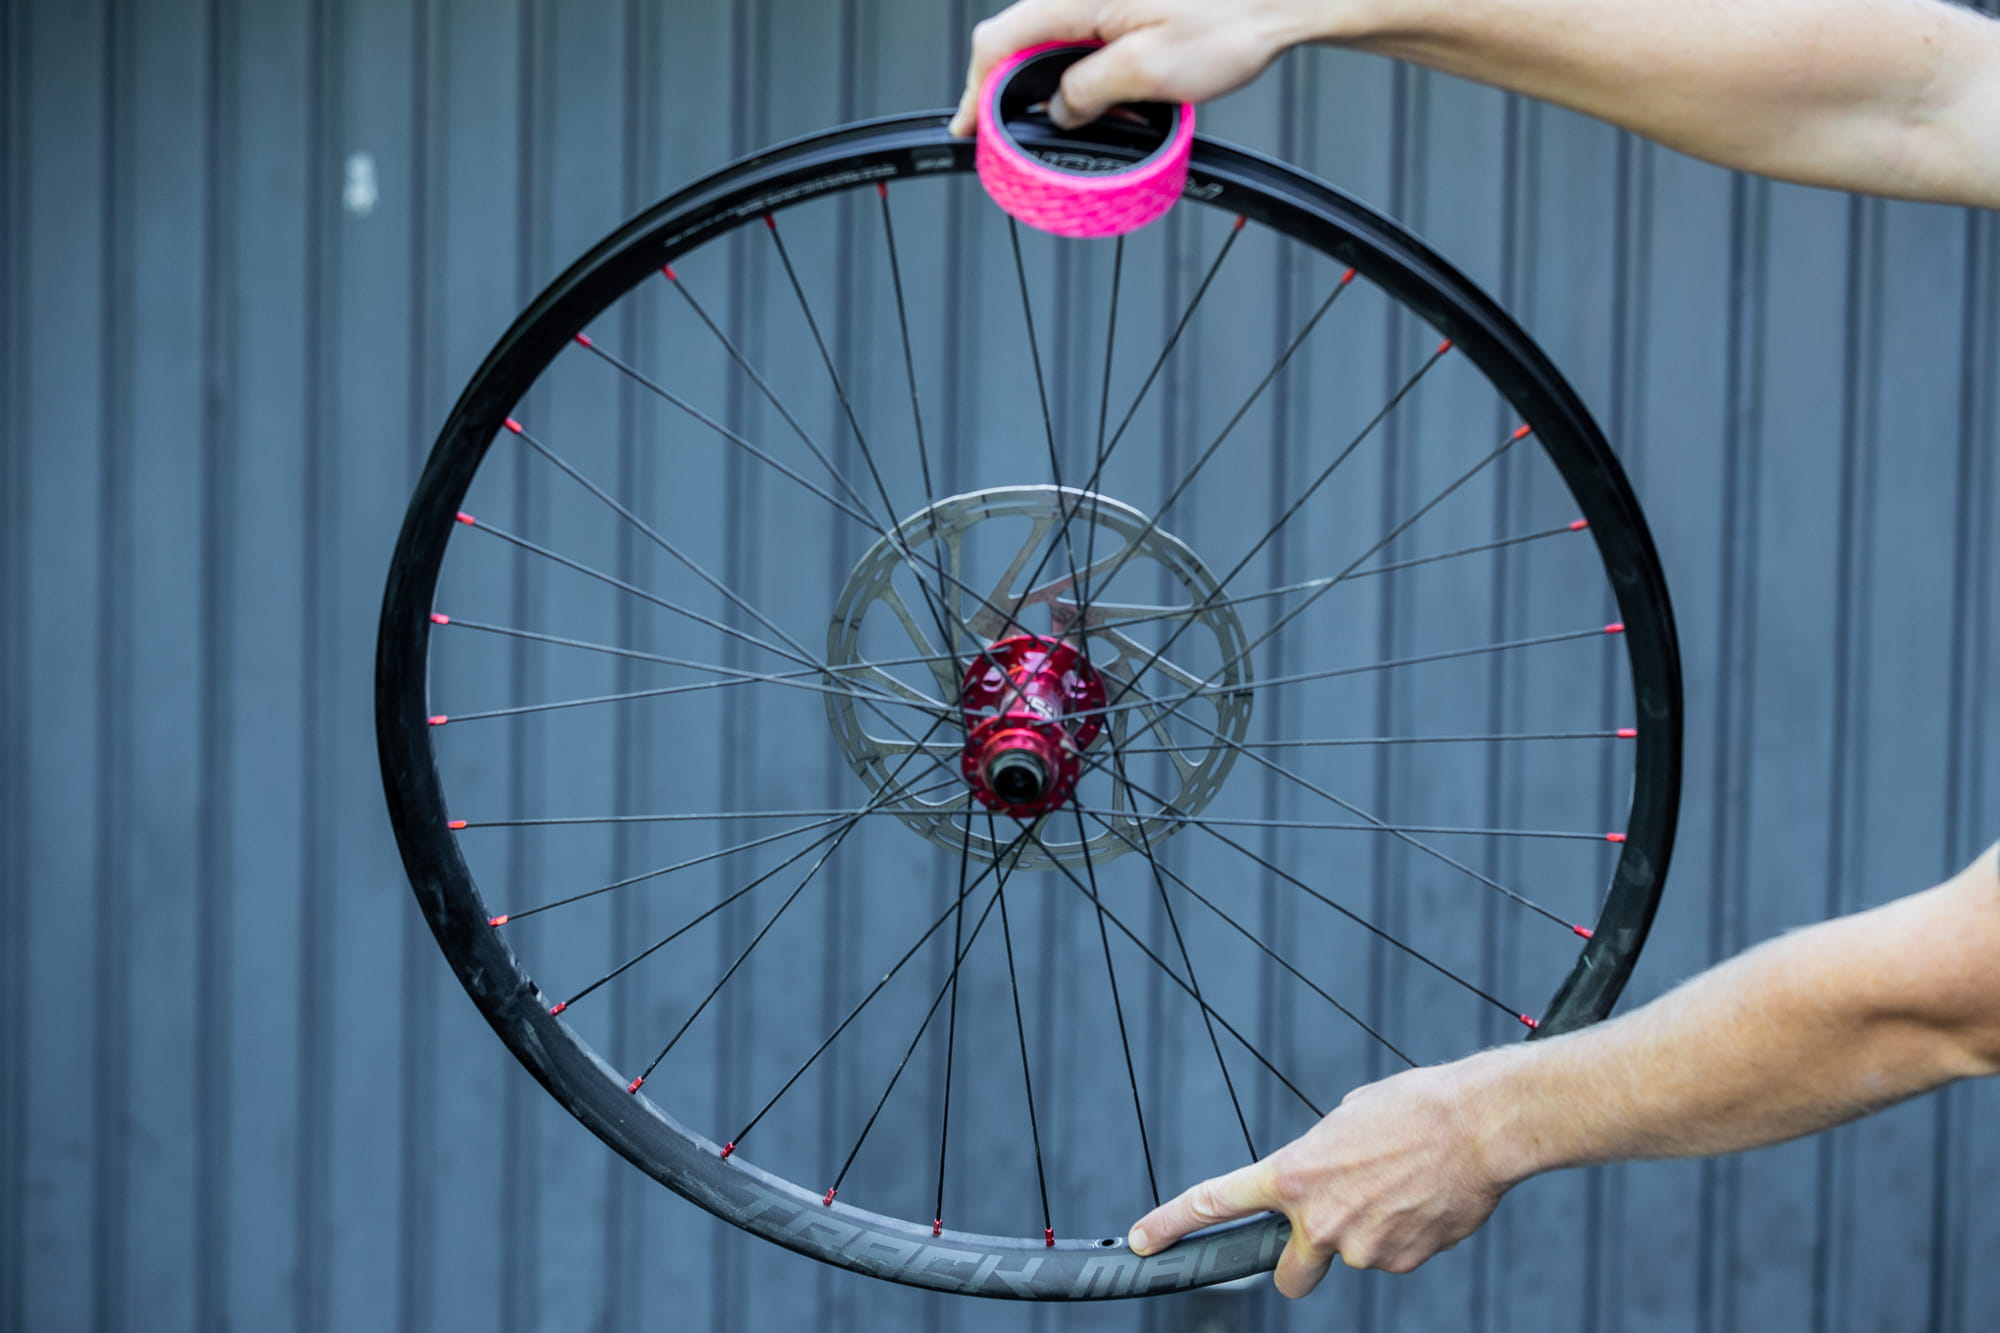
Begin by gluing the rim tape on the opposite side of the valve.
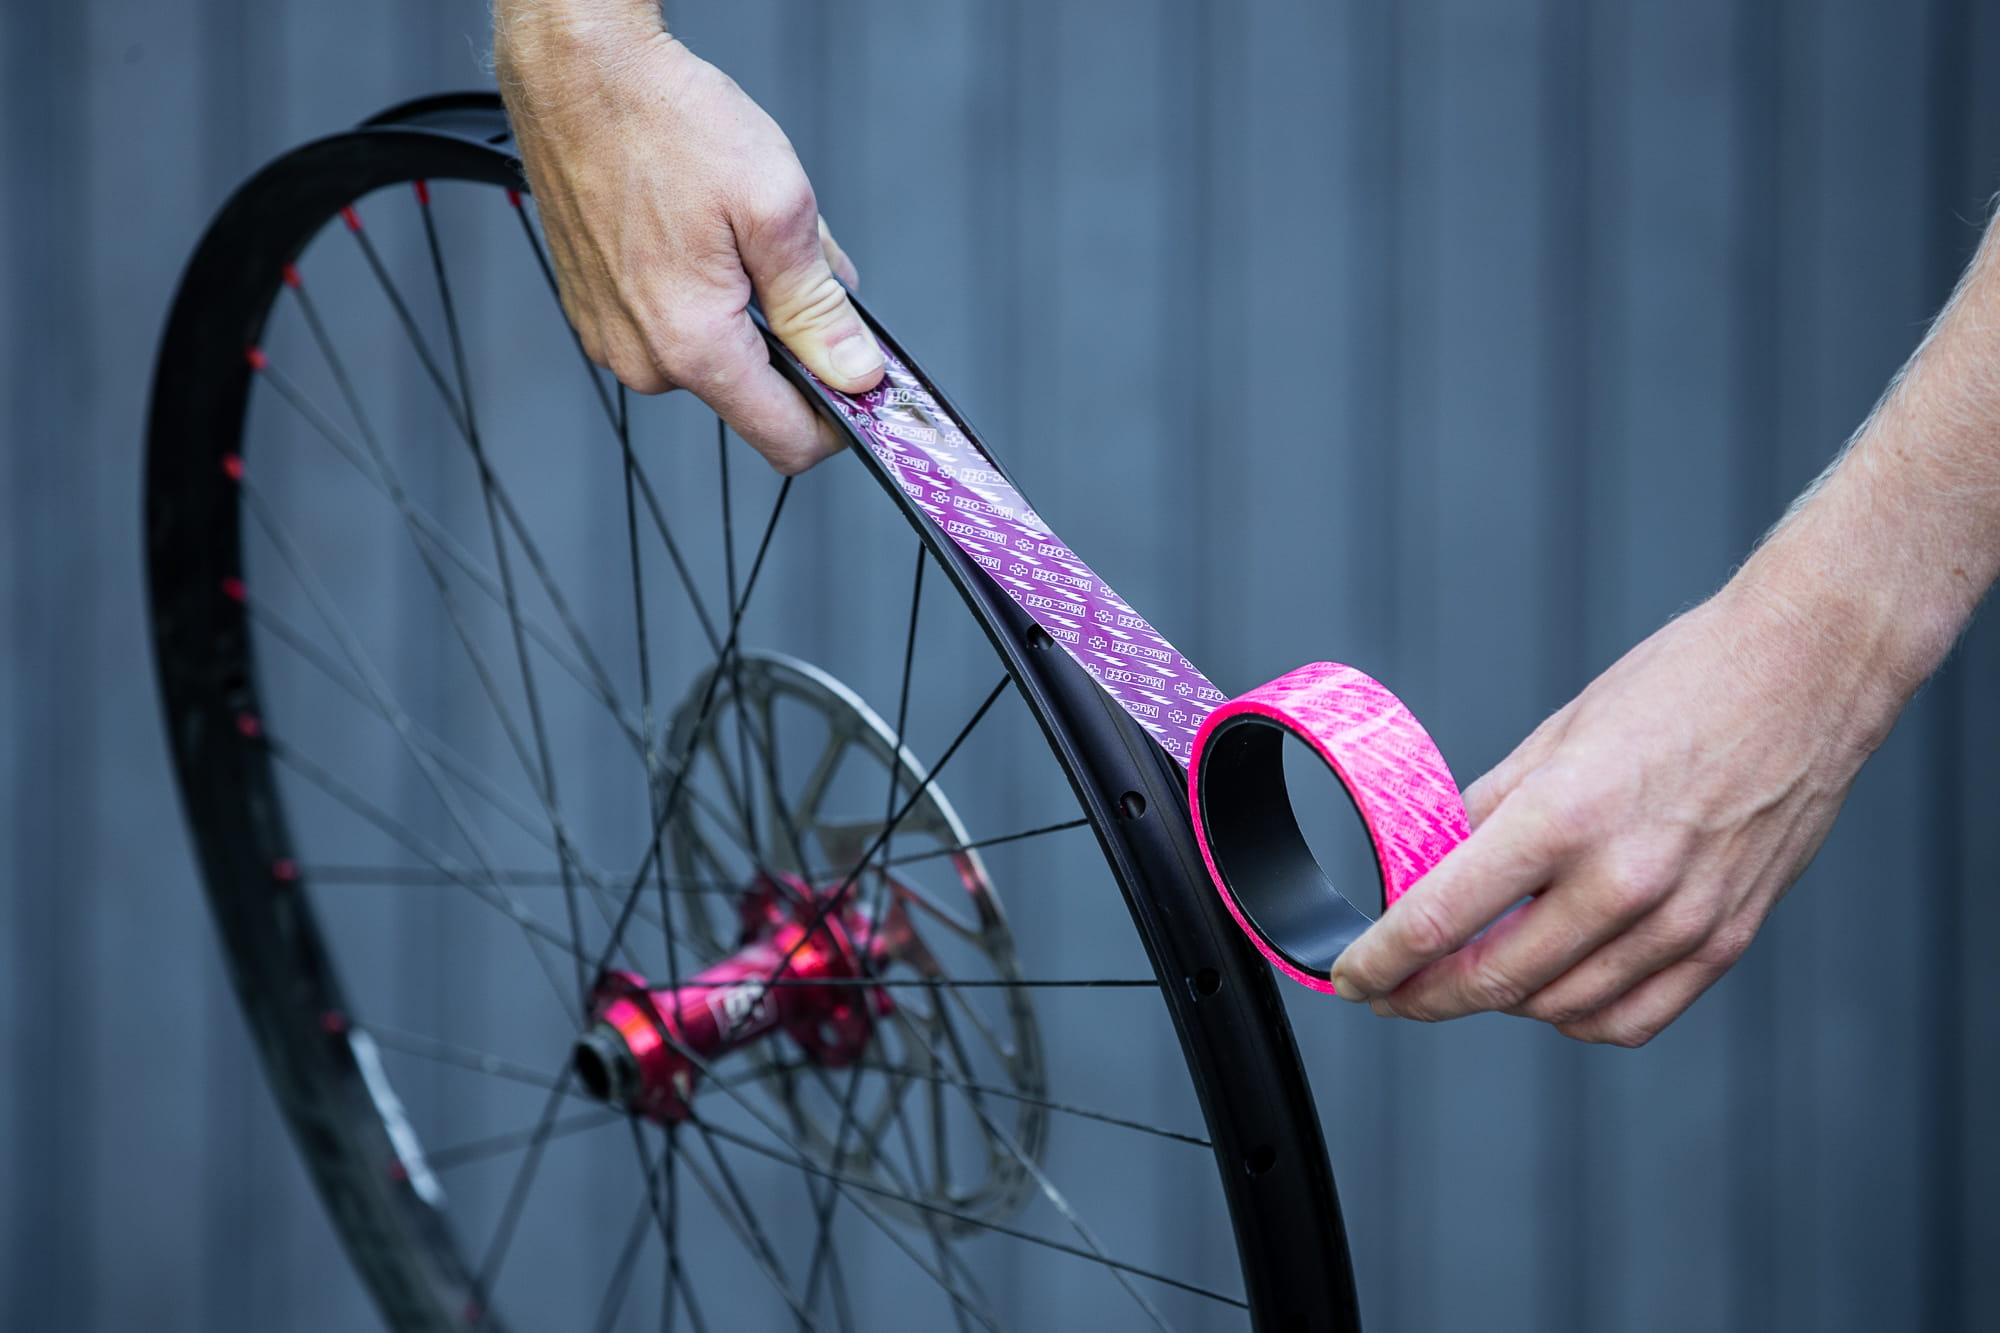
Glue the tubeless rim tape carefully into the rim well and hold on to the beginning for the time being.
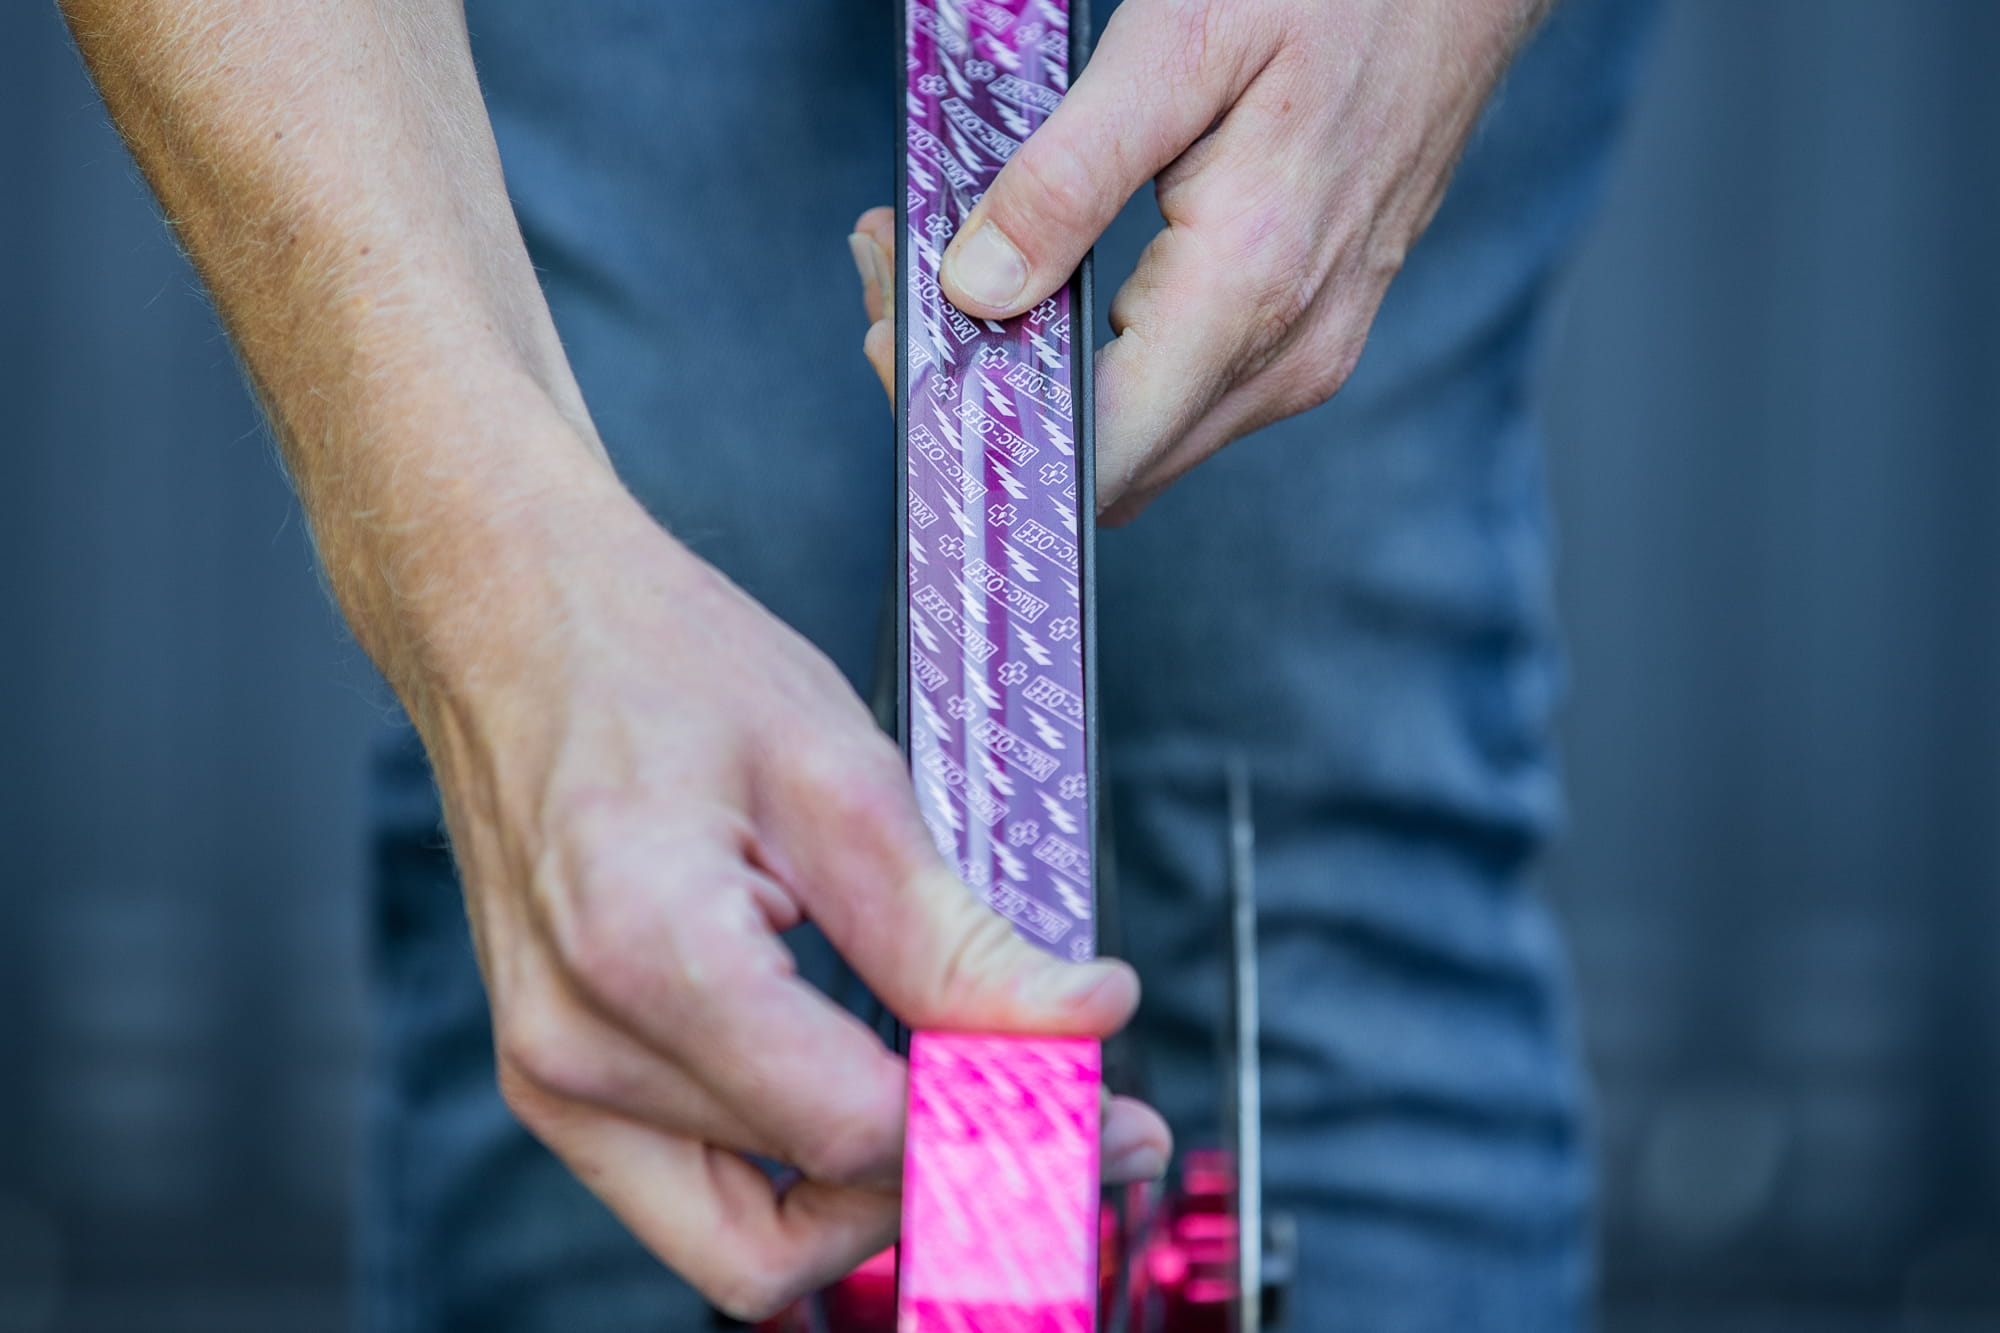
Make sure that you stick the rim tape in the middle and that no air bubbles form under the tape.
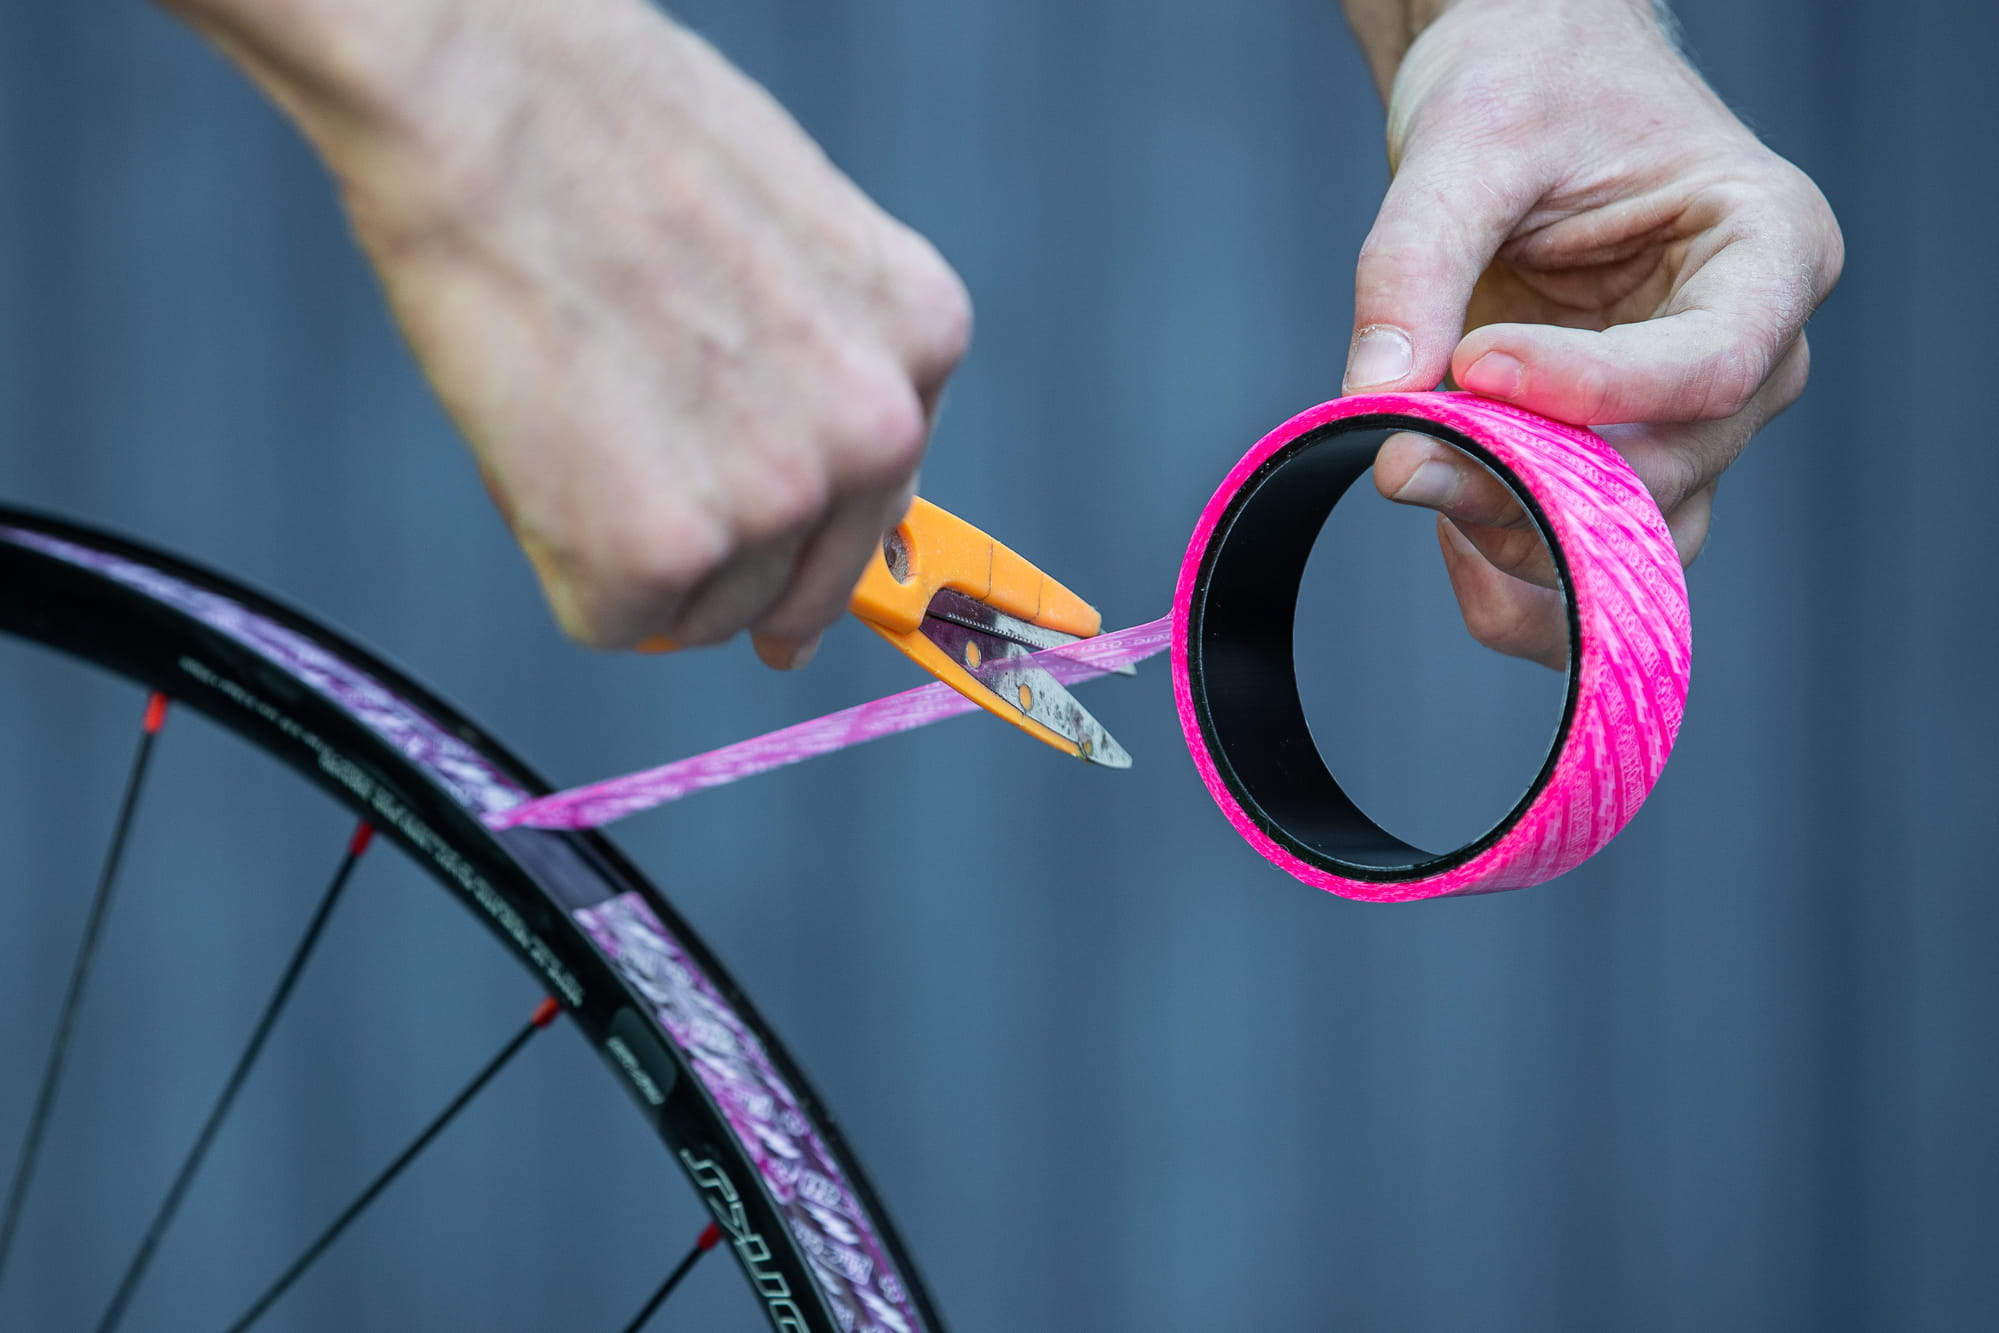
Overlap the two ends by 5-10 centimeters and use scissors to cut off the rim tape.
3. Installing the tubeless valve
Now comes the tubeless valve installation. Take a needle or a pointed item and locate the valve hole in the rim. Pry the rim tape from the top in the direction of the hub through the middle of the valve hole. Now, remove the valve cover and O-ring and insert the valve from above. After that, replace the O-ring and then the locking ring on the valve. Overtightening the locking ring may harm the O-ring, which provides an extra seal to the valve.
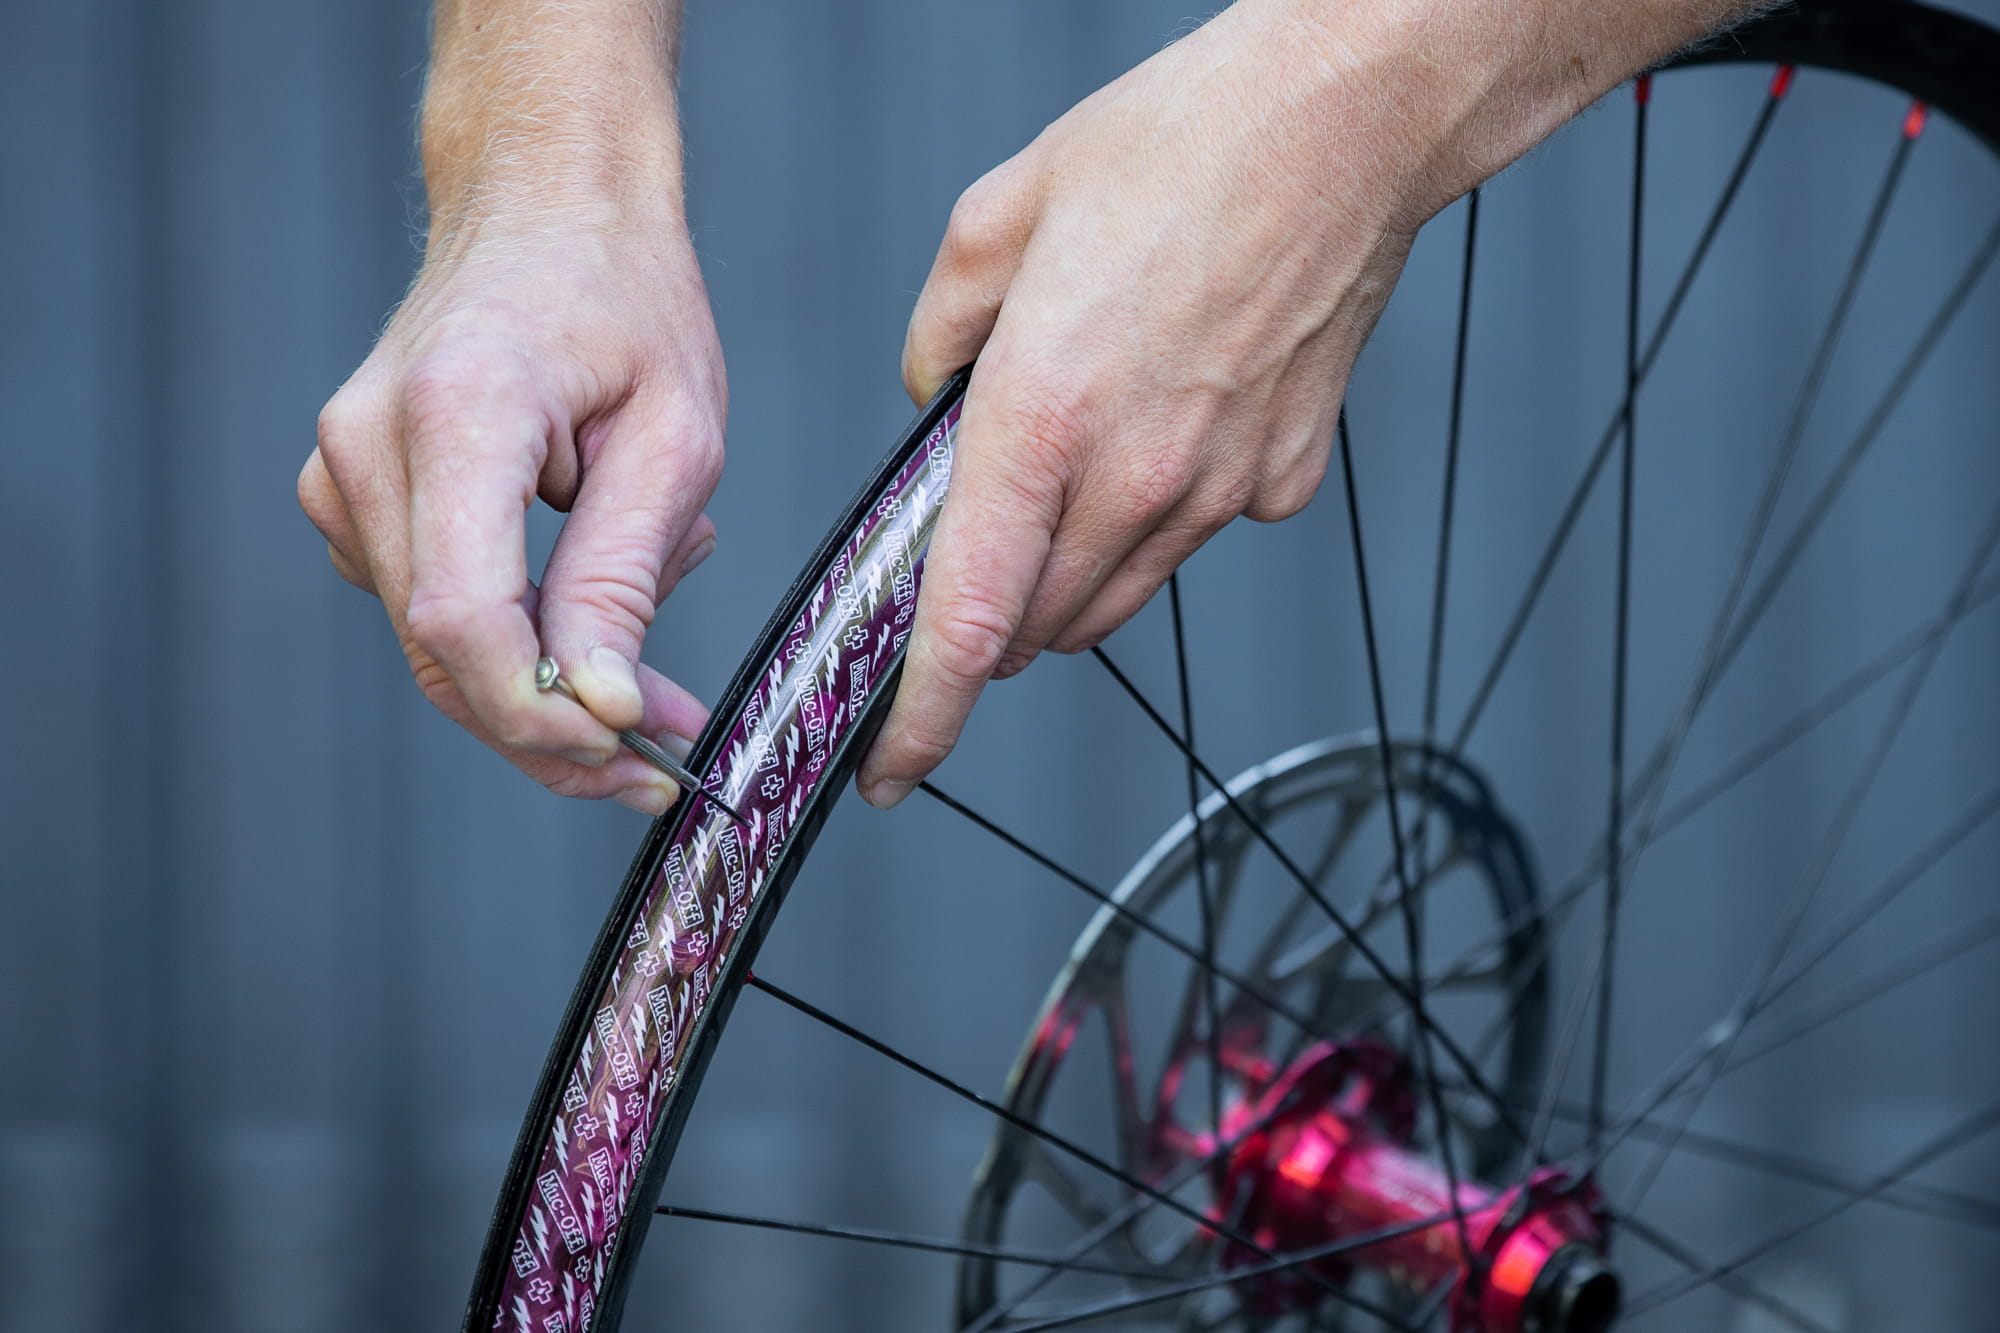
Use a pointed object to poke through the rim tape into the valve opening.
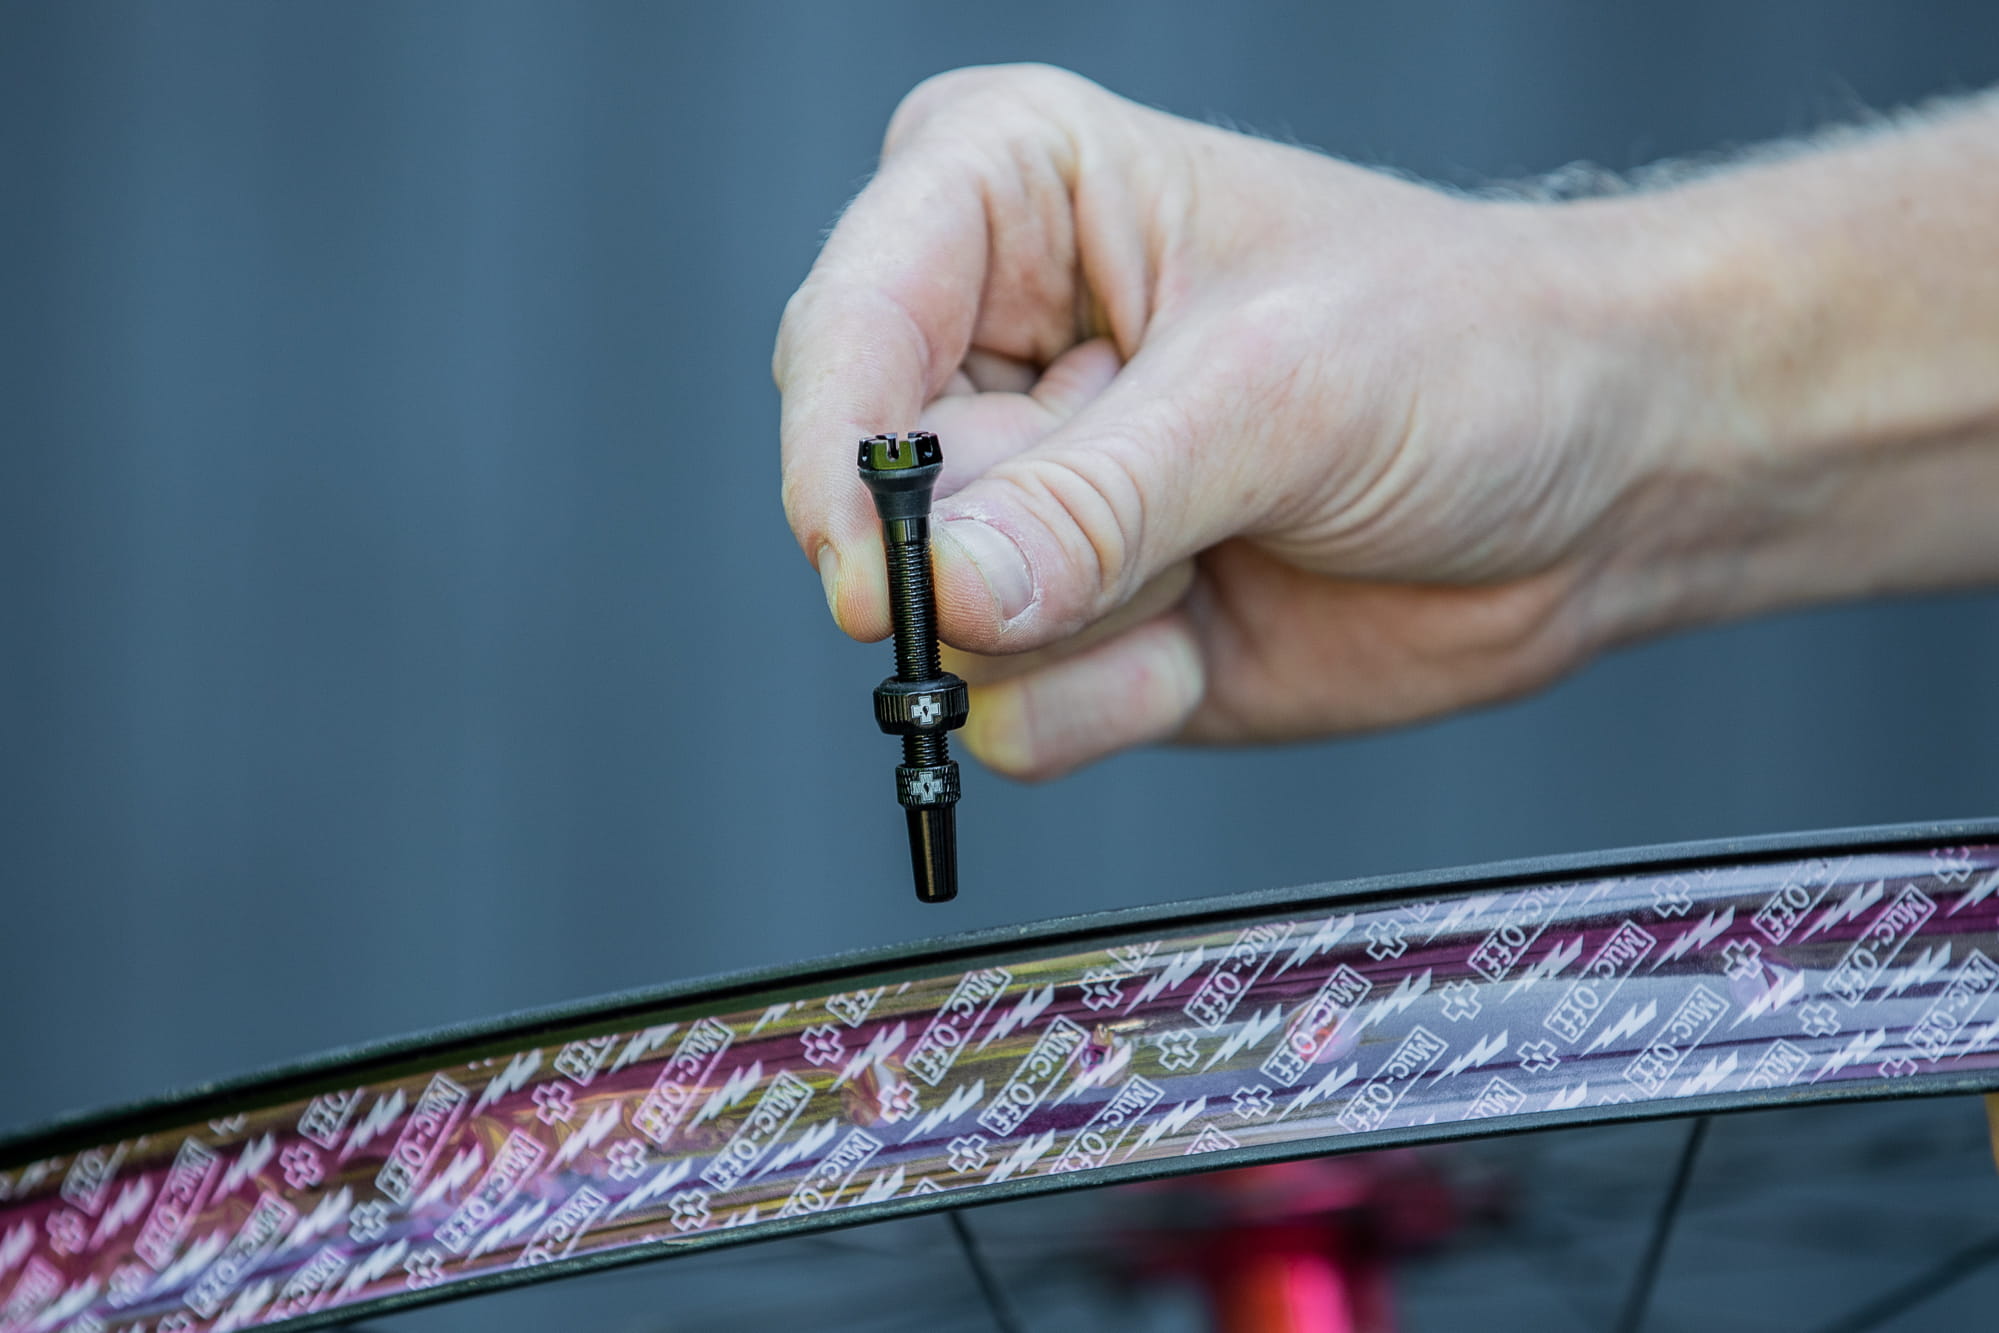
Push the tubeless valve through the rim from above.
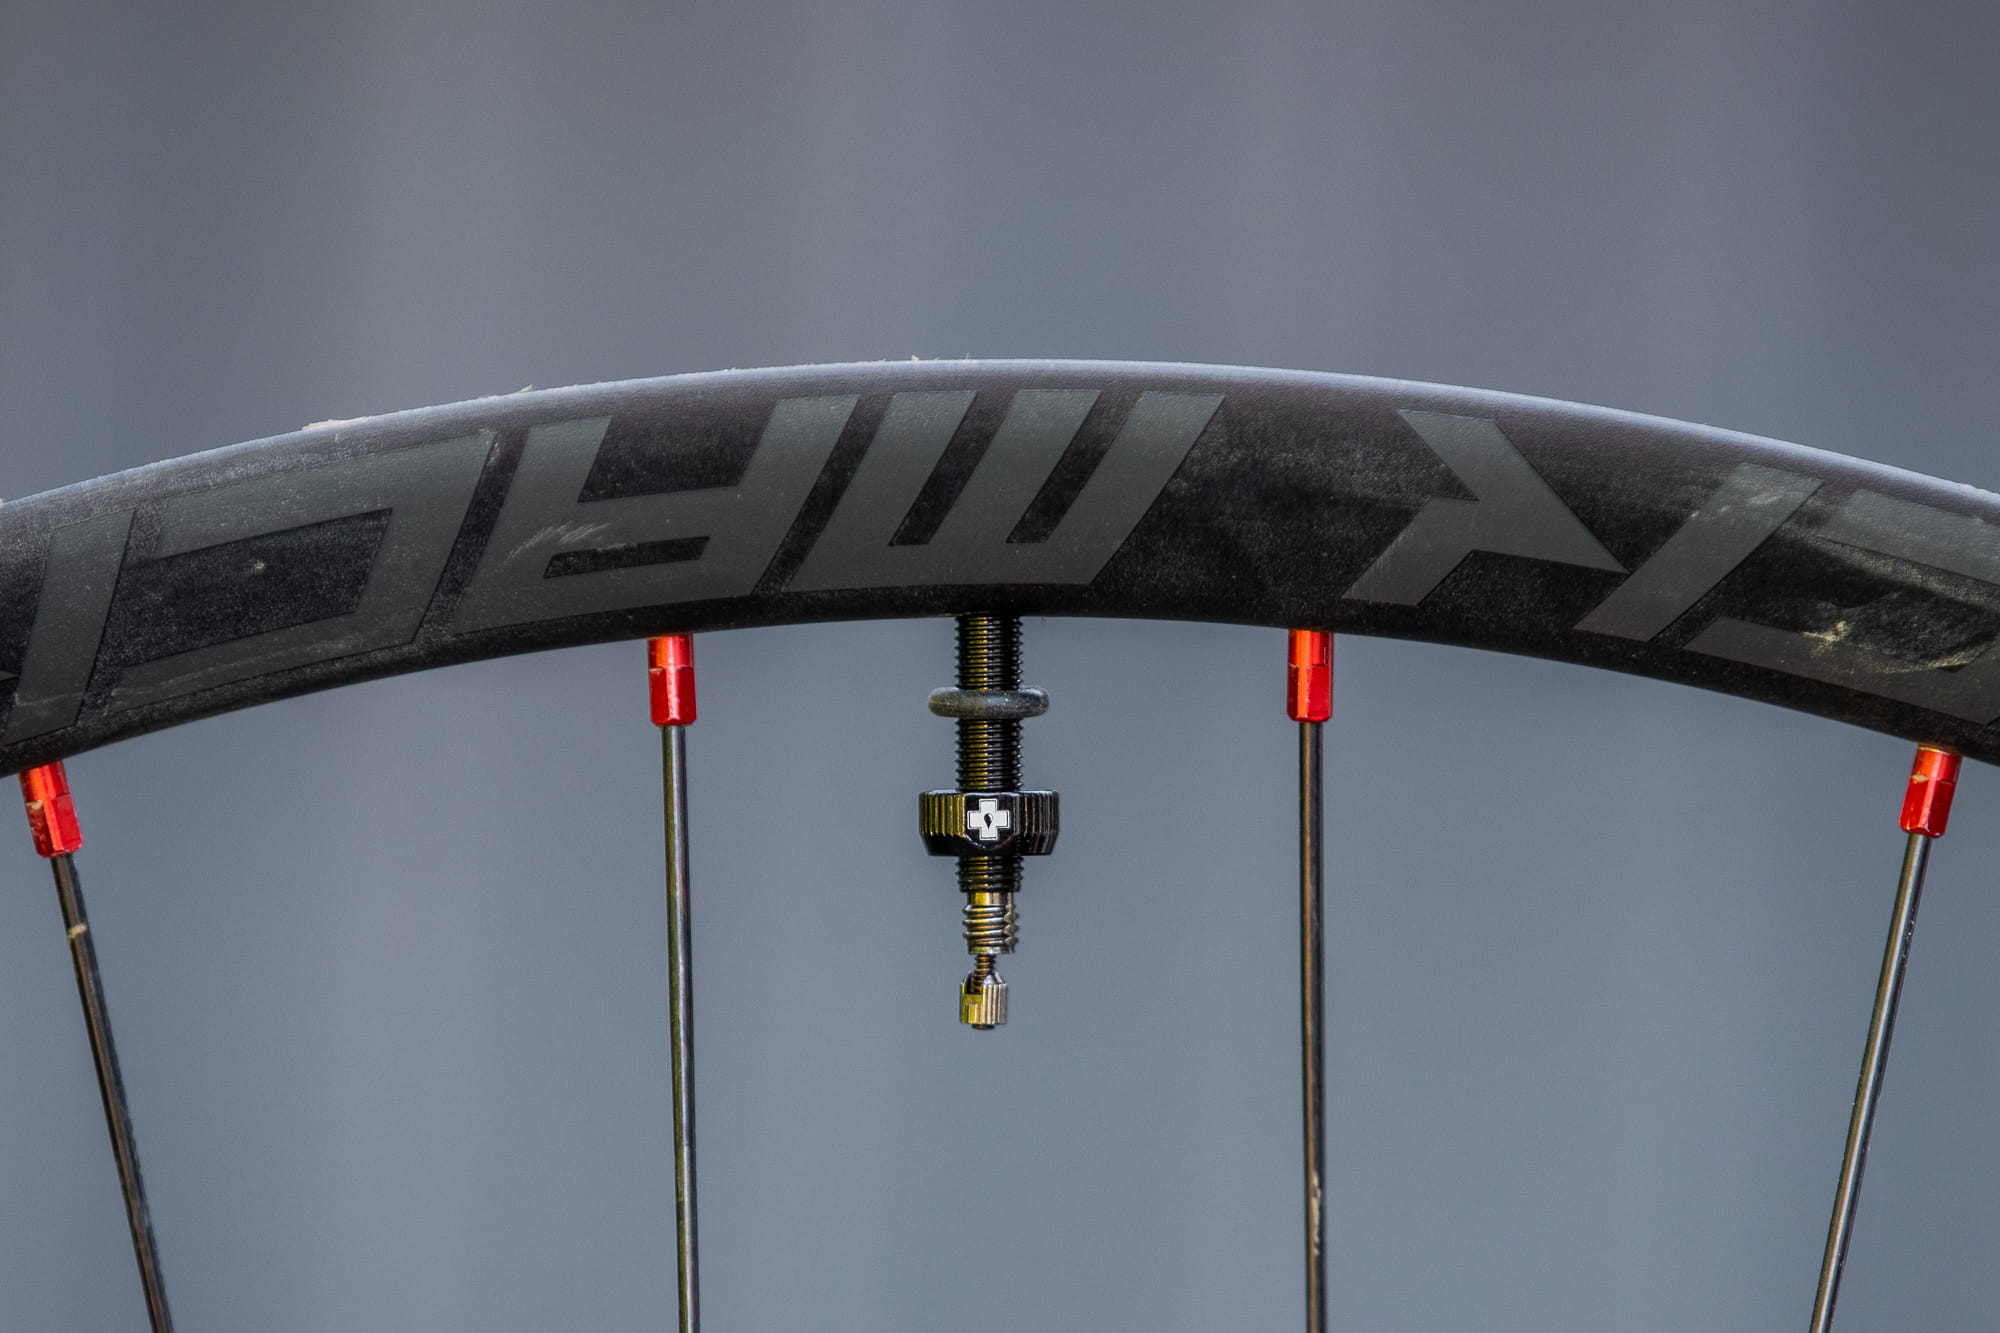
This is what the valve assembly should look like. Be careful not to overtighten the locking screw as this could damage the O-ring.
4. Put the tire back on the rim
Now that the rim has been prepared, the tire can be replaced. Avoid damaging the rim tape with your tire levers; otherwise, air may escape from the wheel. A little water and dish soap can assist you to get the tire over the rim if you’re having problems.
You can inflate the tire for the first time once both tire carcasses have been pulled over the rim flanks on the left and right. In the best-case scenario, you will hear a little pop, indicating that the tire casings have pressed into the rims. Then you let all of the air out, remove the valve core using the included Muc-Off valve tool, and proceed to the next procedure.
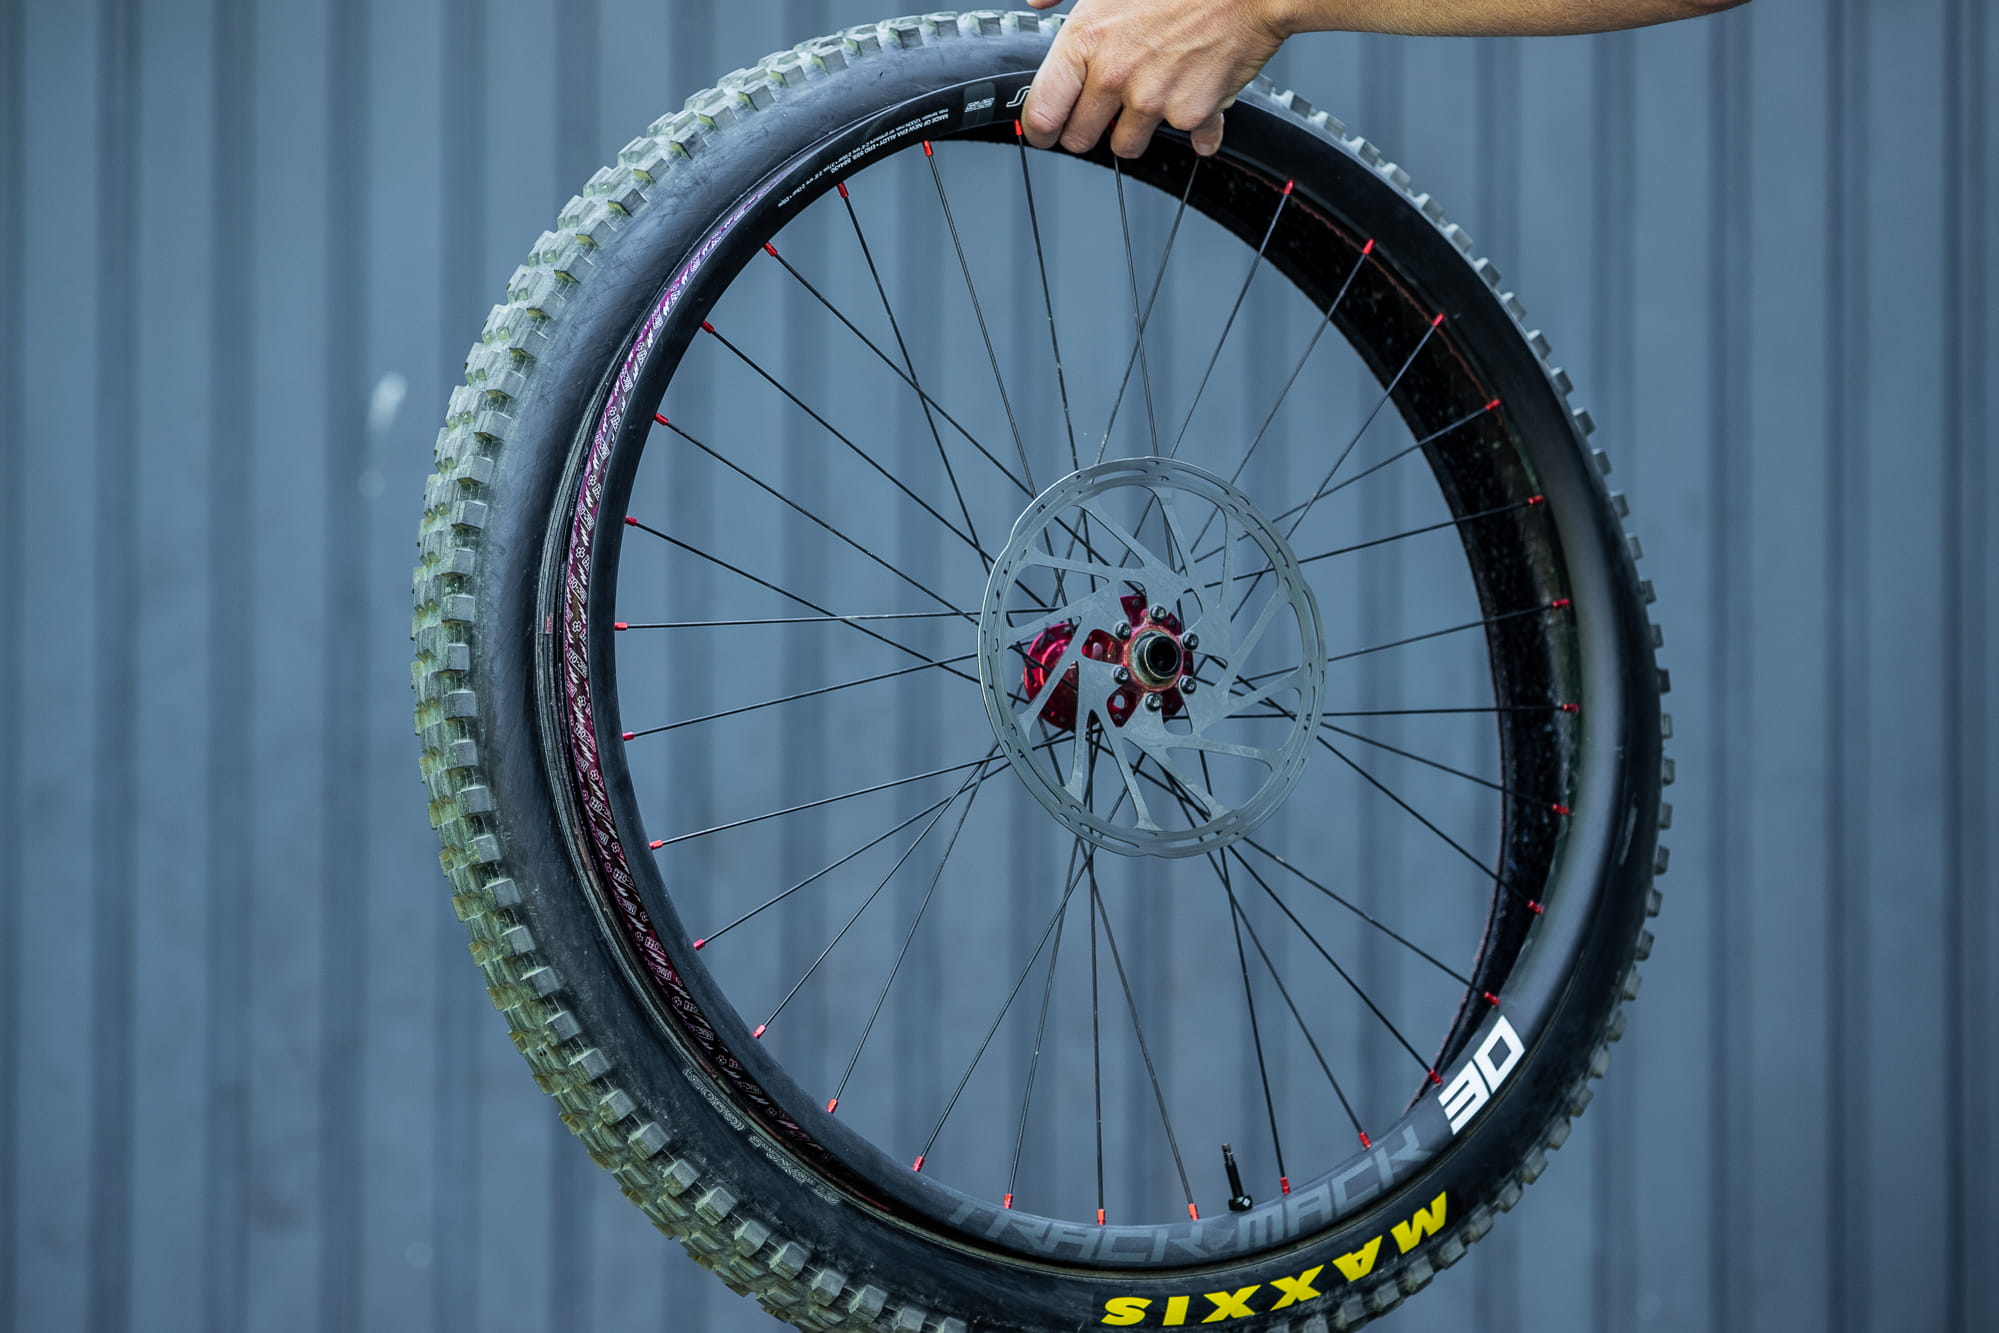
Gently pull the tire back onto the rim.
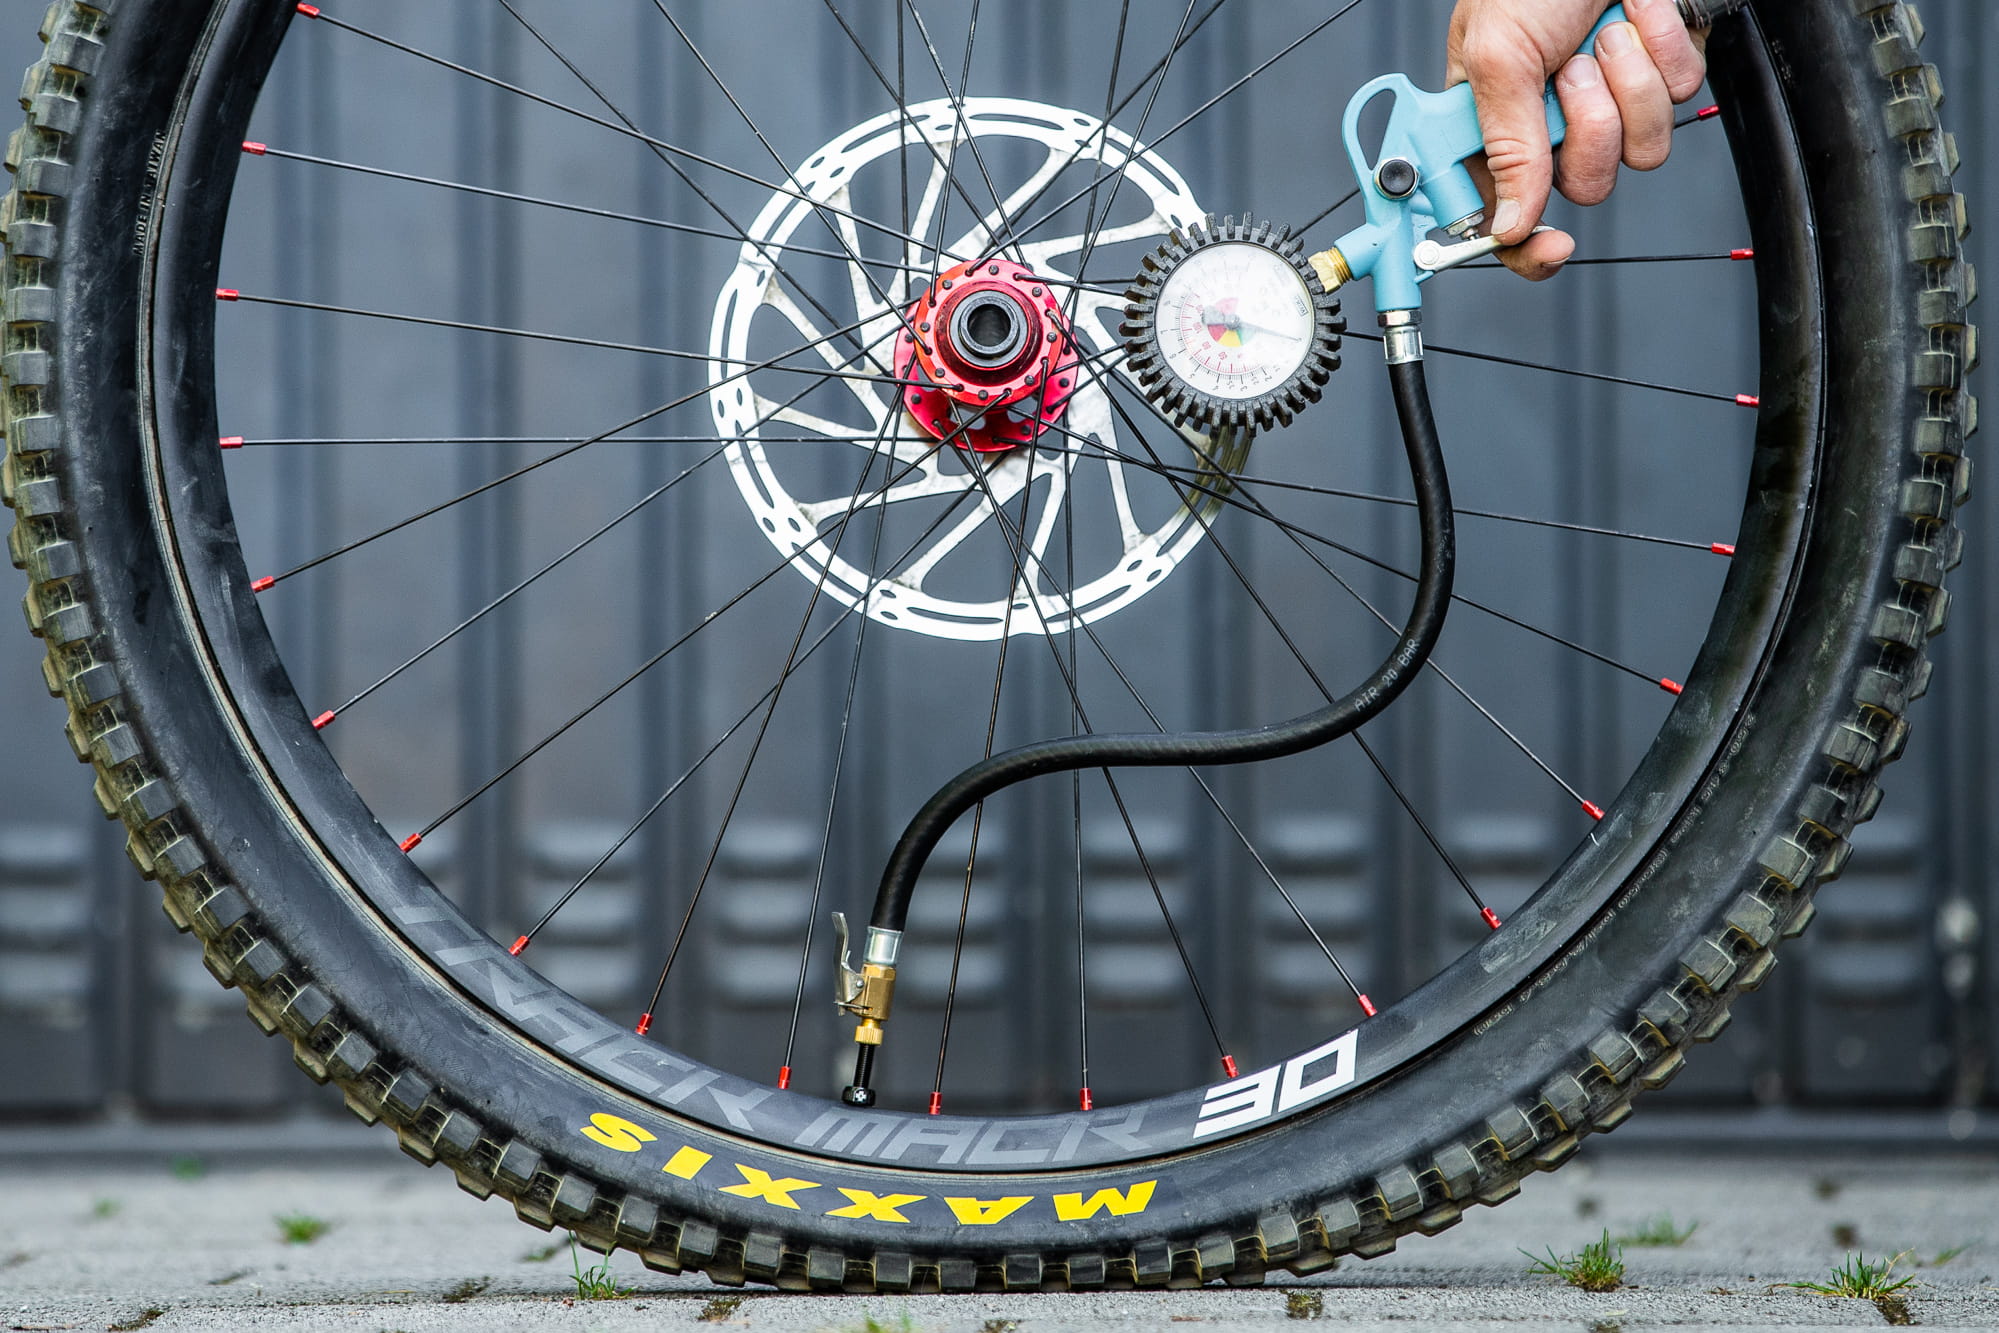
Pump up the tire until you hear a popping sound. This signals to you that the tire has pressed into the rim flanks.
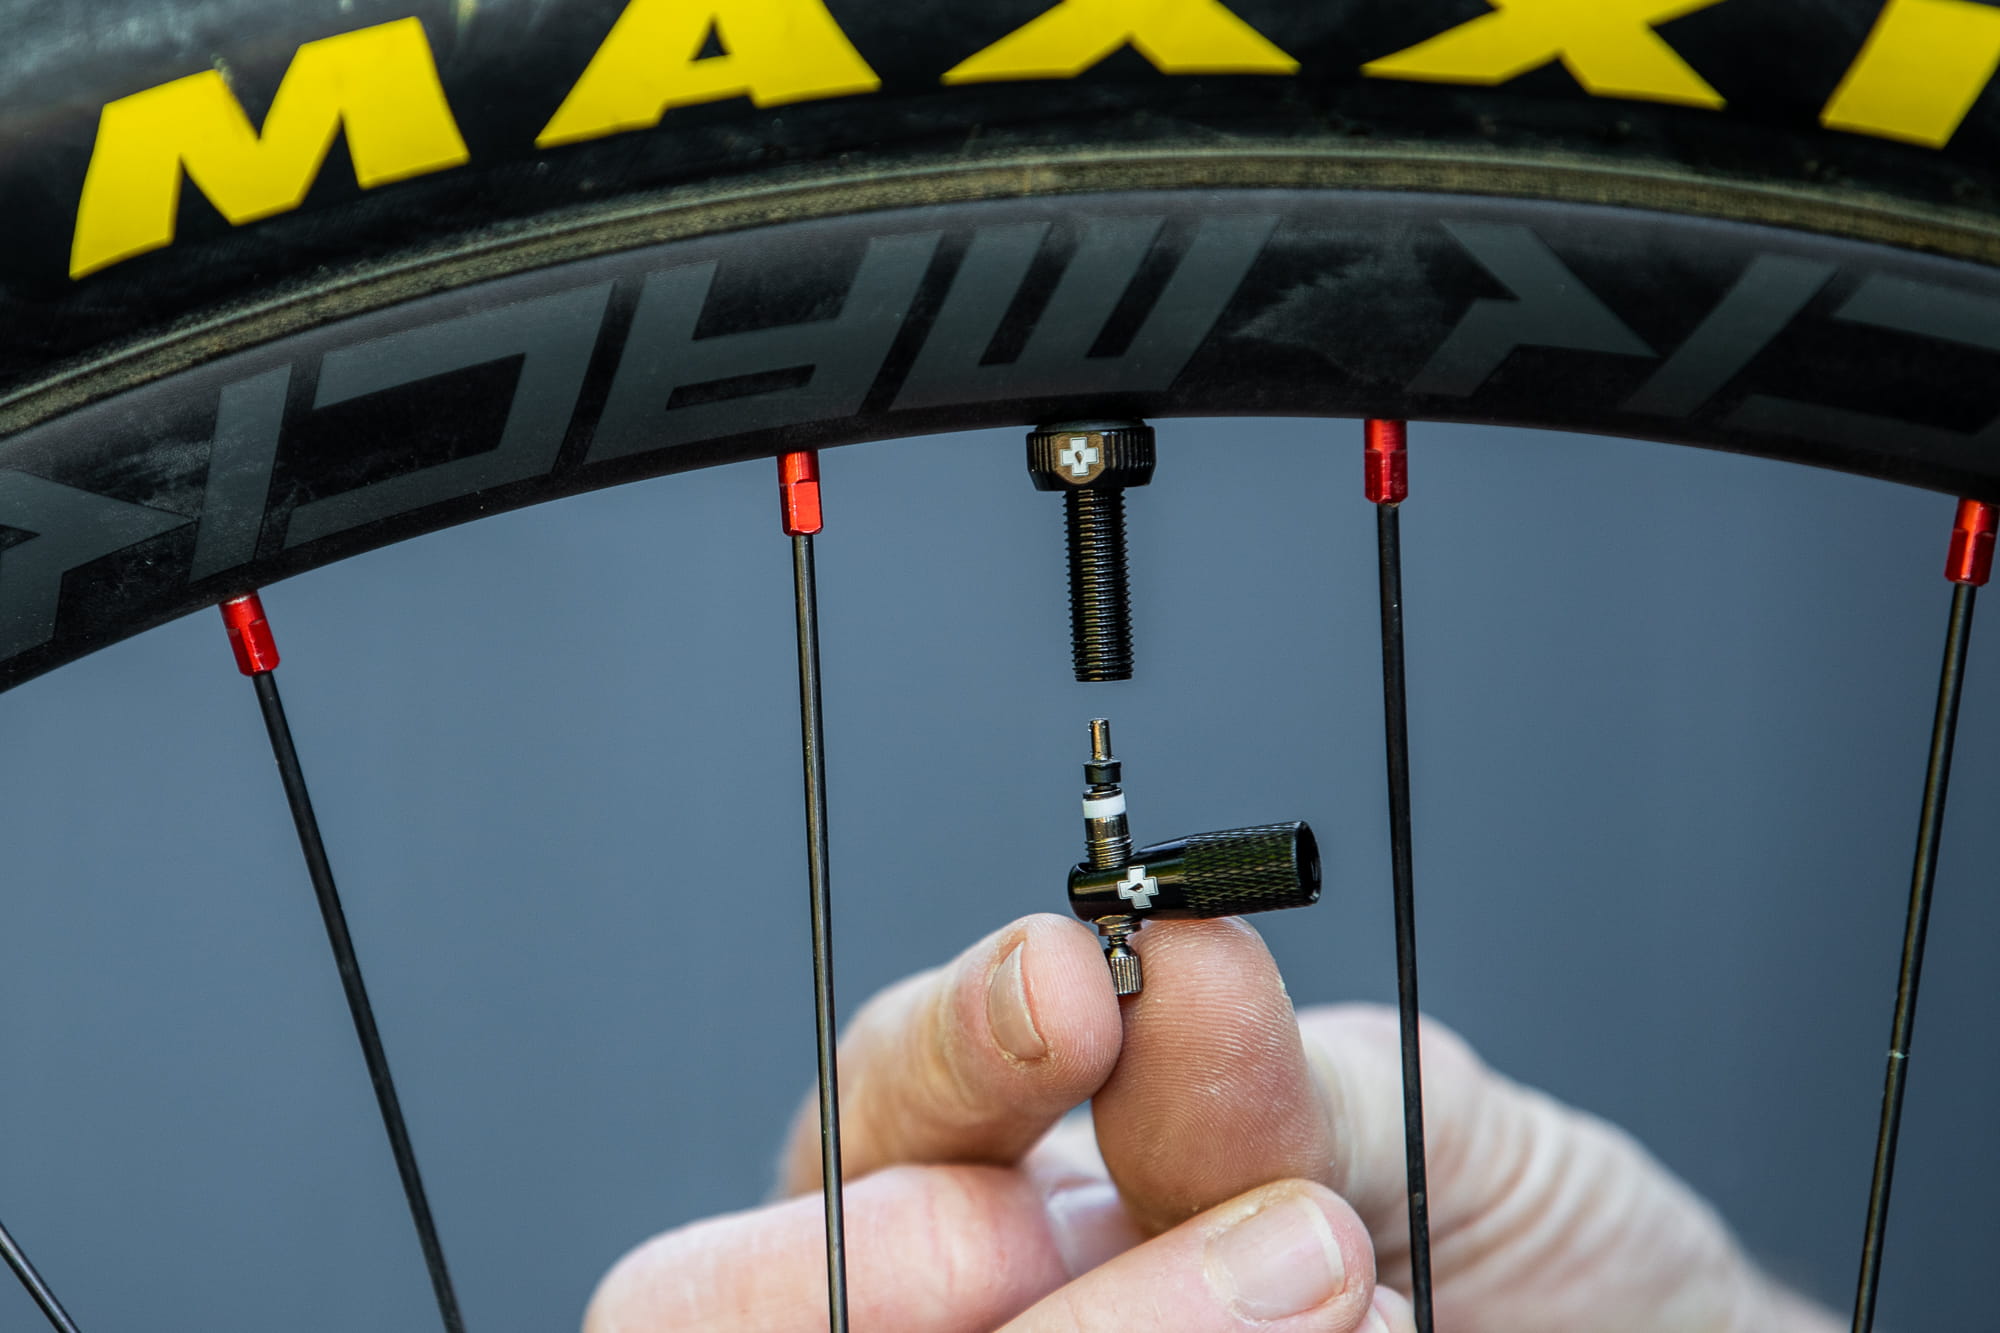
After inflation, let the air escape and remove the valve insert again.
5. Filling in the tubeless sealant
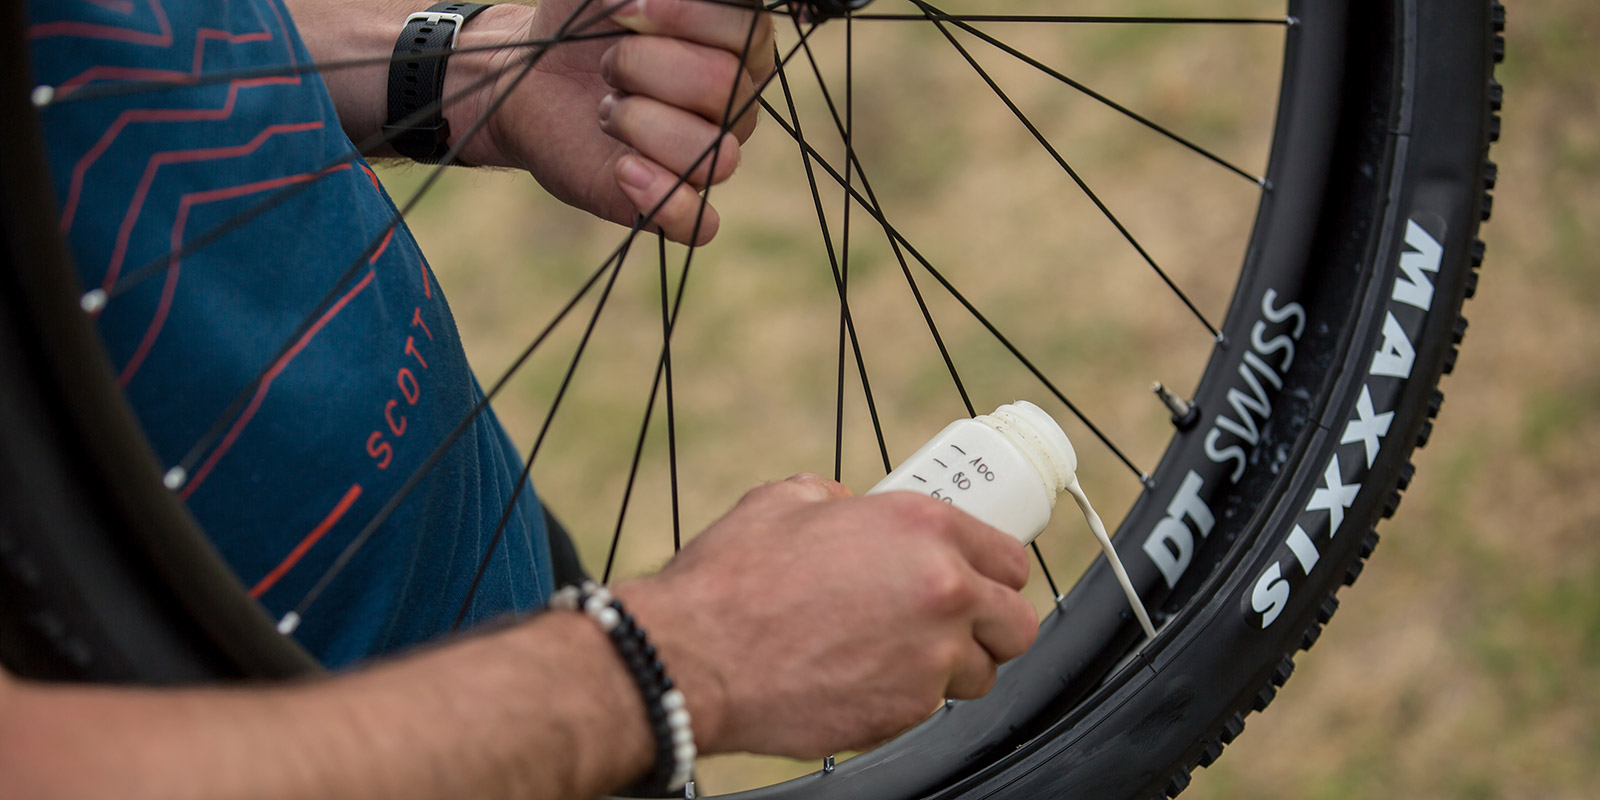
Now, take the Muc-Off sealant bag and vigorously shake it. Place your impeller so that the valve is on top. Place the Muc-Off sealing milk with the cap on the valve, then turn the wheel 180° so that the valve is down and the sealing milk can flow into the tire.
The amount of sealant you should apply is determined by the area of application. Manufacturer information can be found directly on the Muc-Off sealing milk. If the sealant bag is empty, return the valve or impeller to its original position and remove the sealant bag.
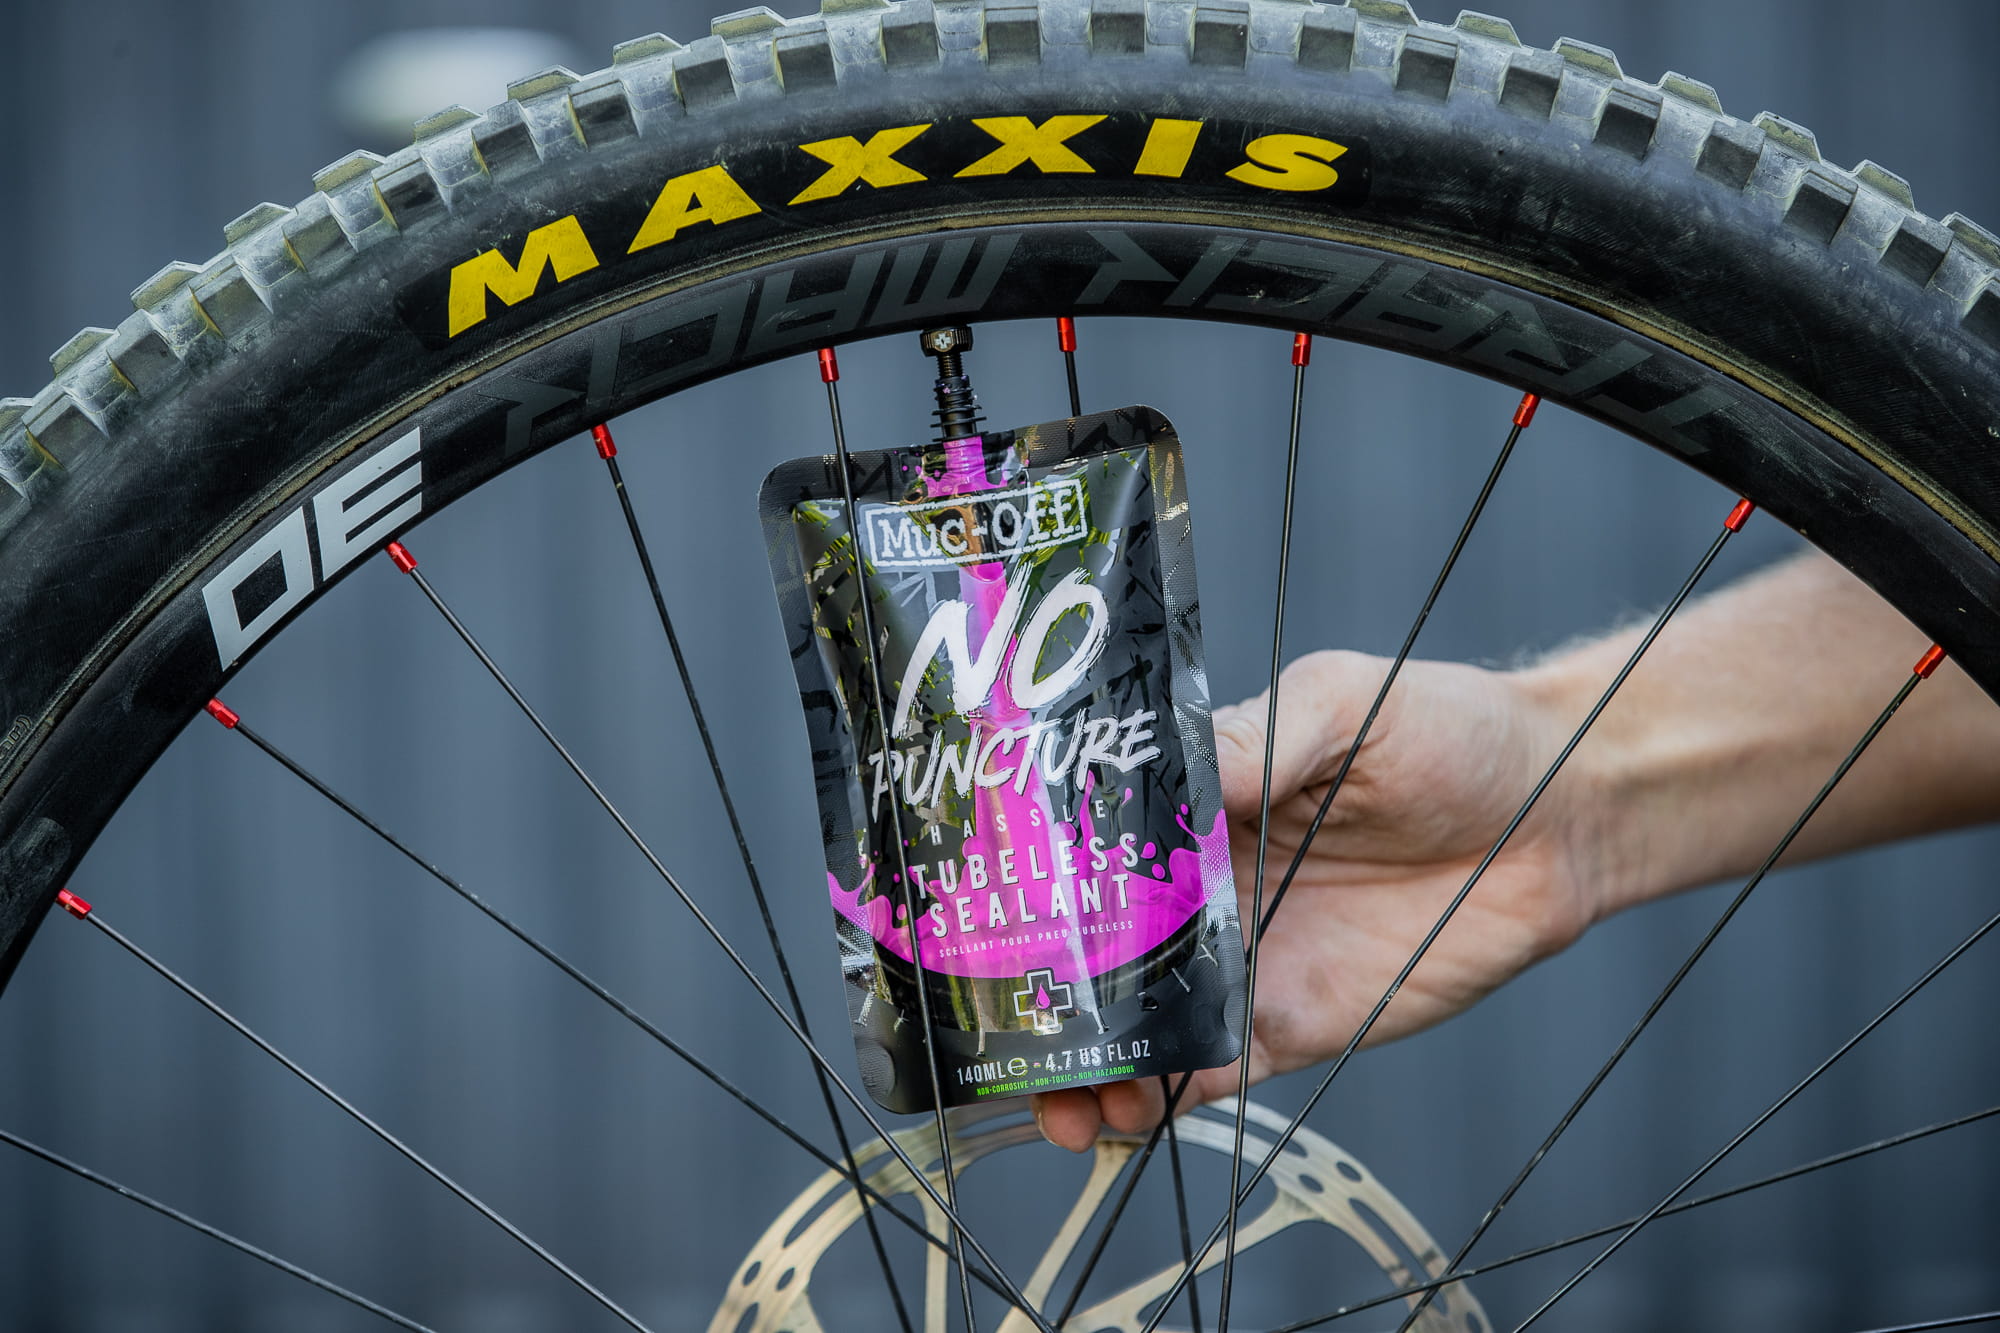
Now position the valve at the top and put the sealing milk bag on it.
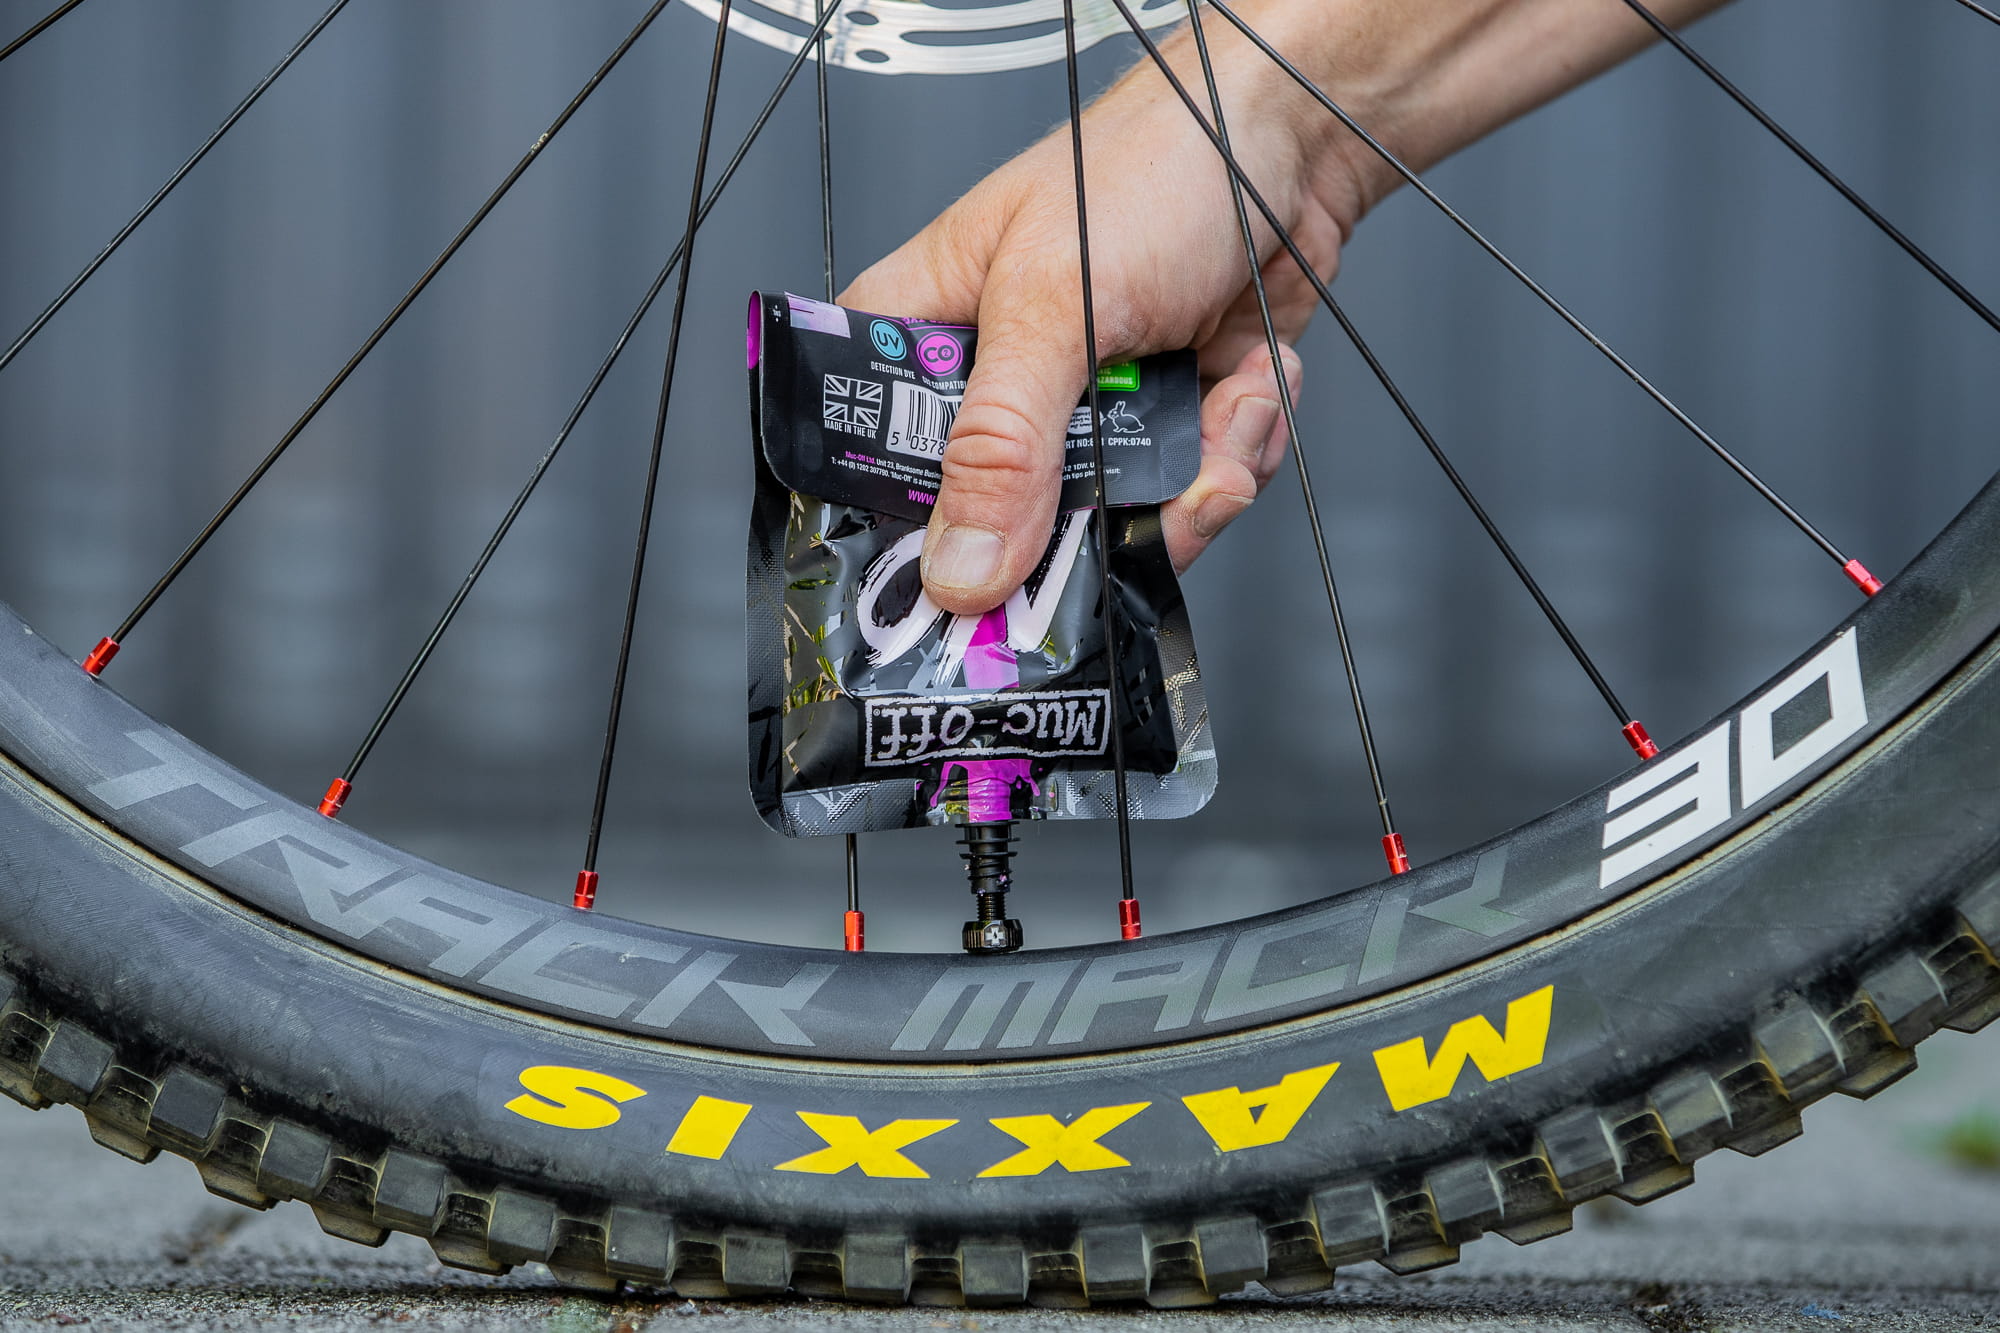
Next, turn the valve back down and gently squeeze out the sealant so it runs into the tire.
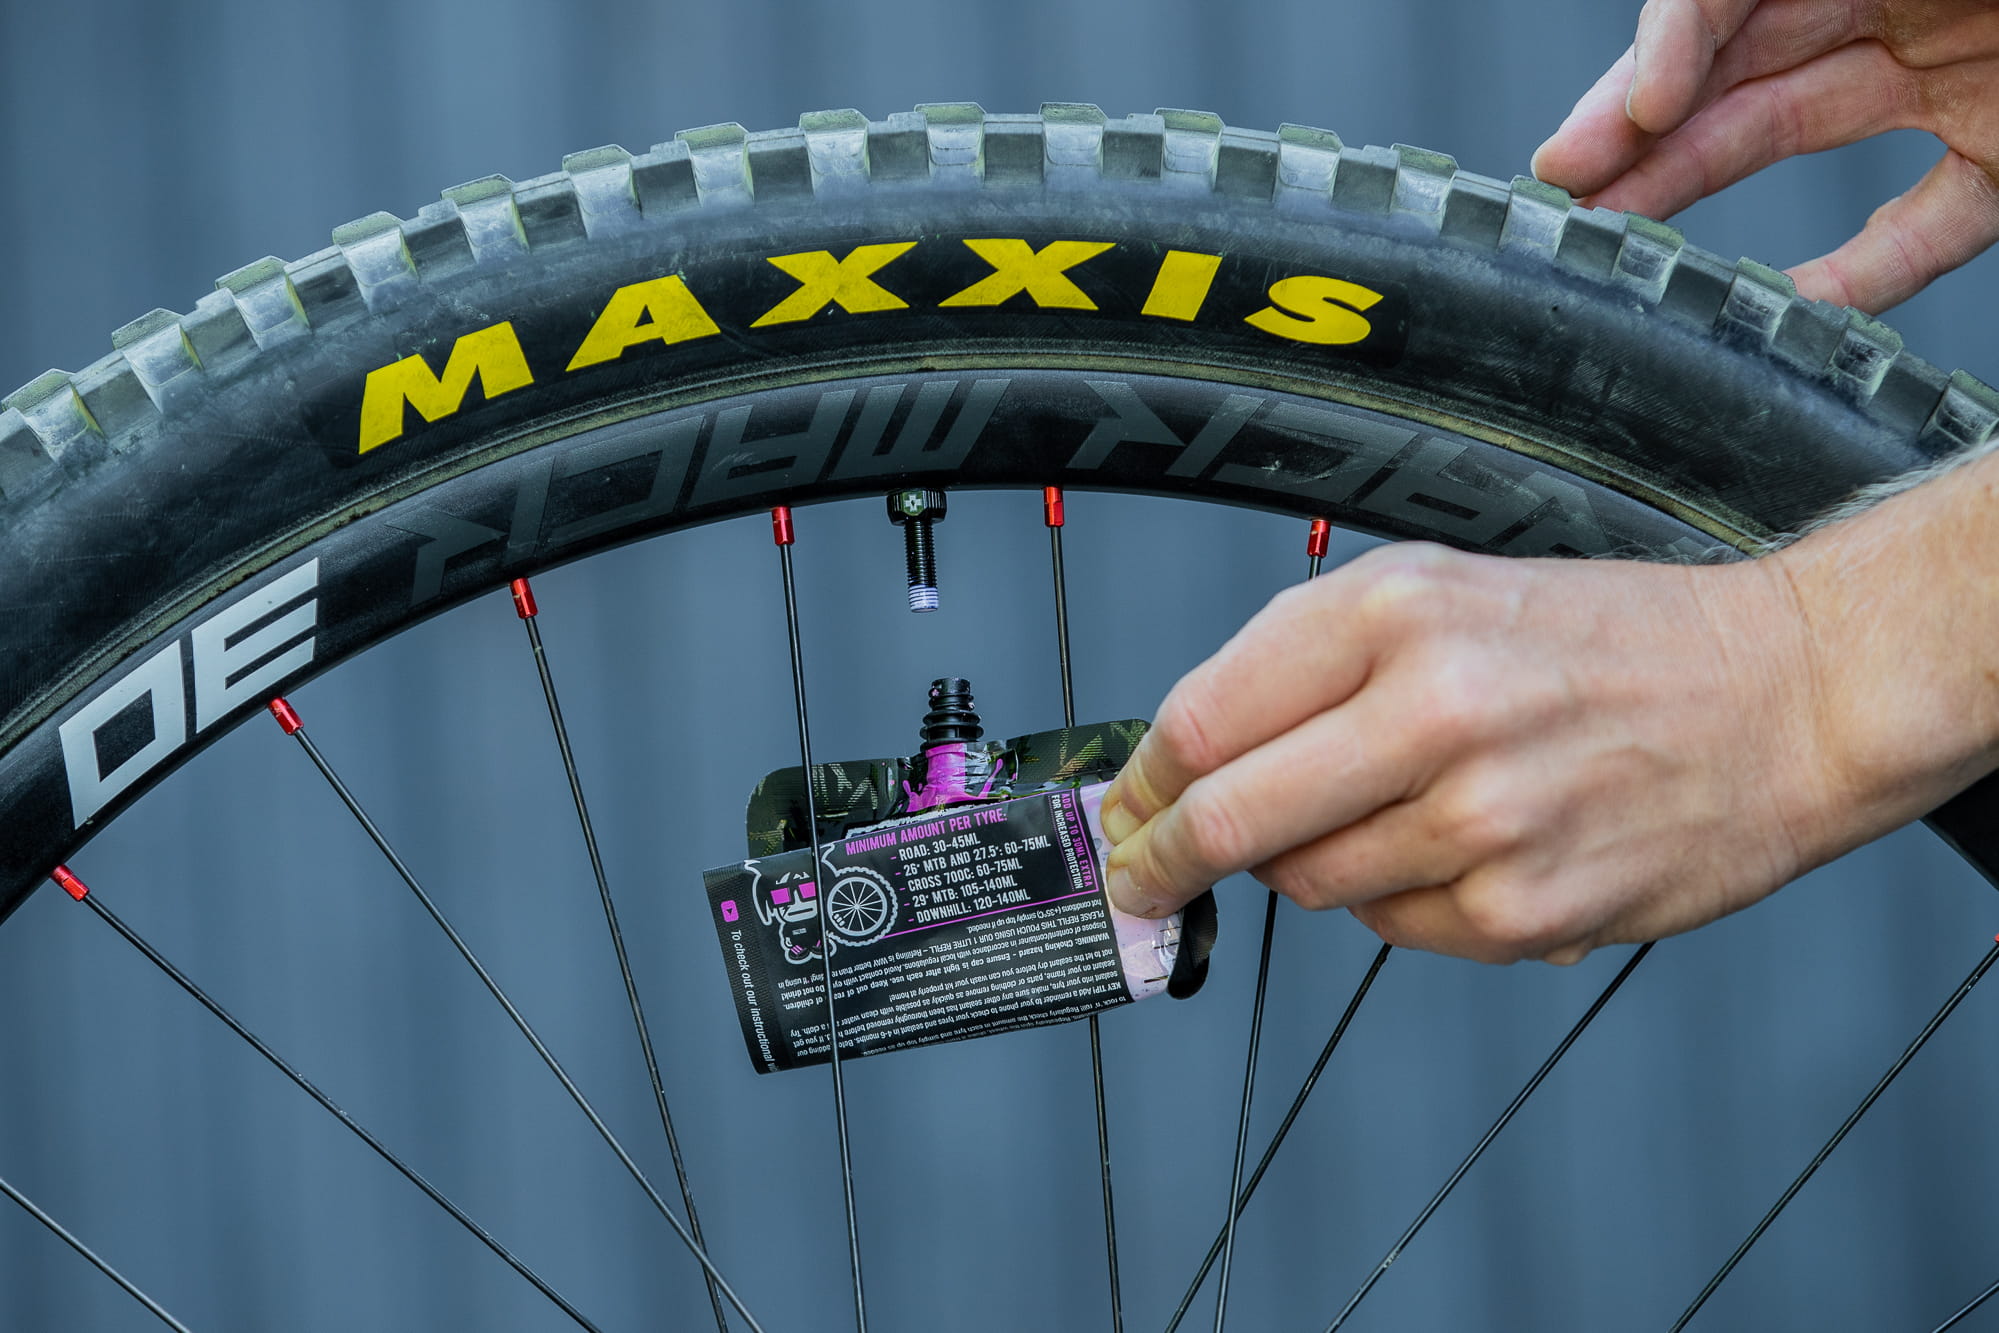
In the last step, you pull the sealing milk off the valve again. In the best case, you manage not to waste a drop of tubeless sealant.
6. Screw in the valve insert
Finally, screw the valve insert back in. Next, re-inflate your tire with pressure. A compressor or an air pump with a pressure vessel that can suddenly allow air to escape is best suited for this. You should now hear a pop, indicating that the tire is correctly installed on the rim.
Finally, turn the impeller about its own axis and shake it several times to ensure that the sealant is well distributed. Then you may reinstall your wheel and enjoy your tubeless adventure!
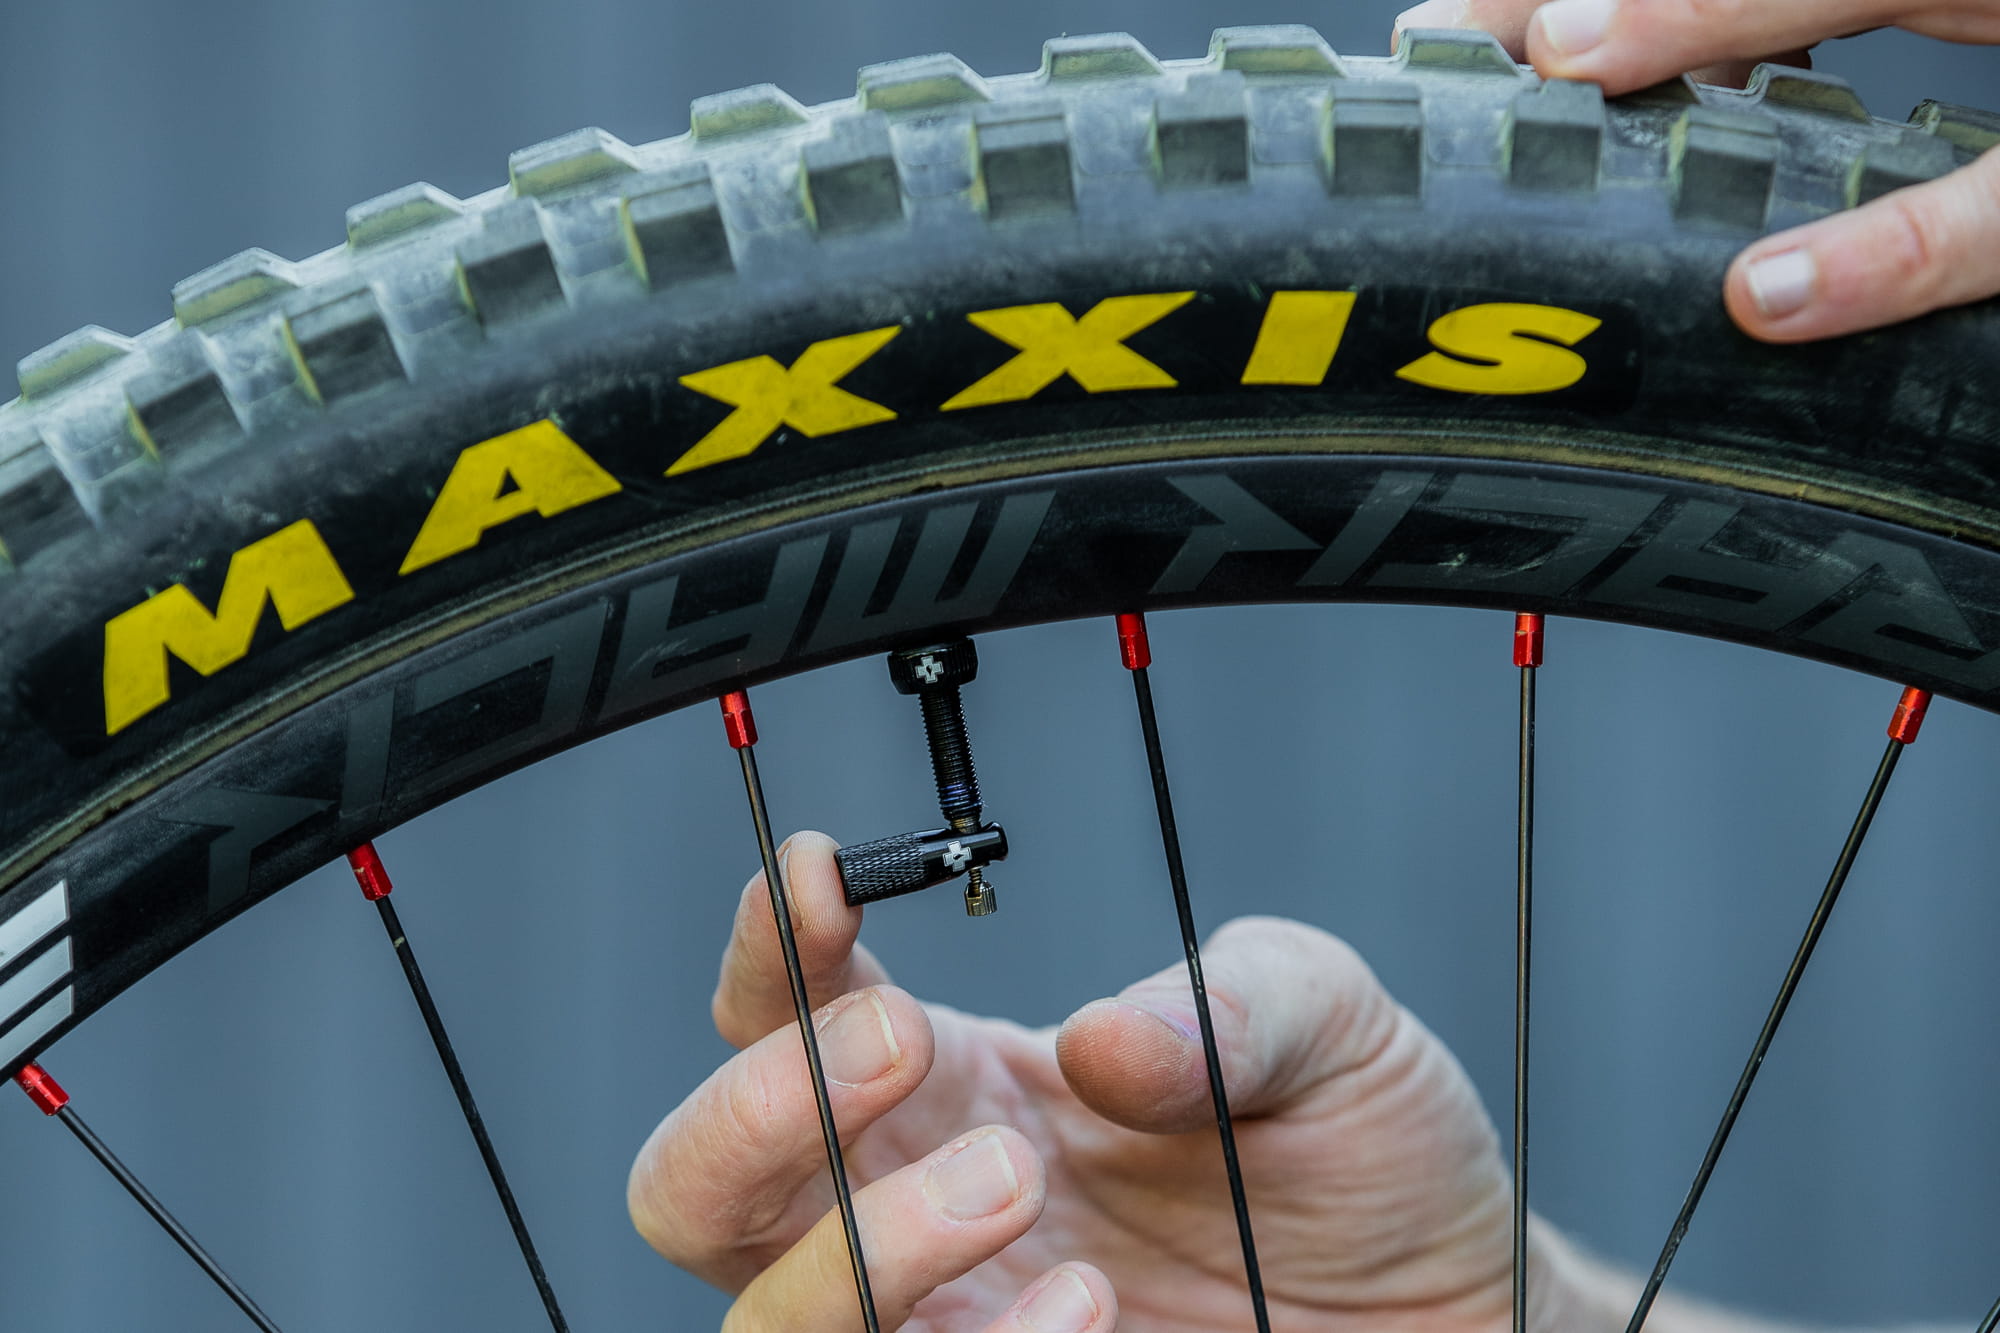
Now screw the valve insert back in with the Muc-Off Tool.
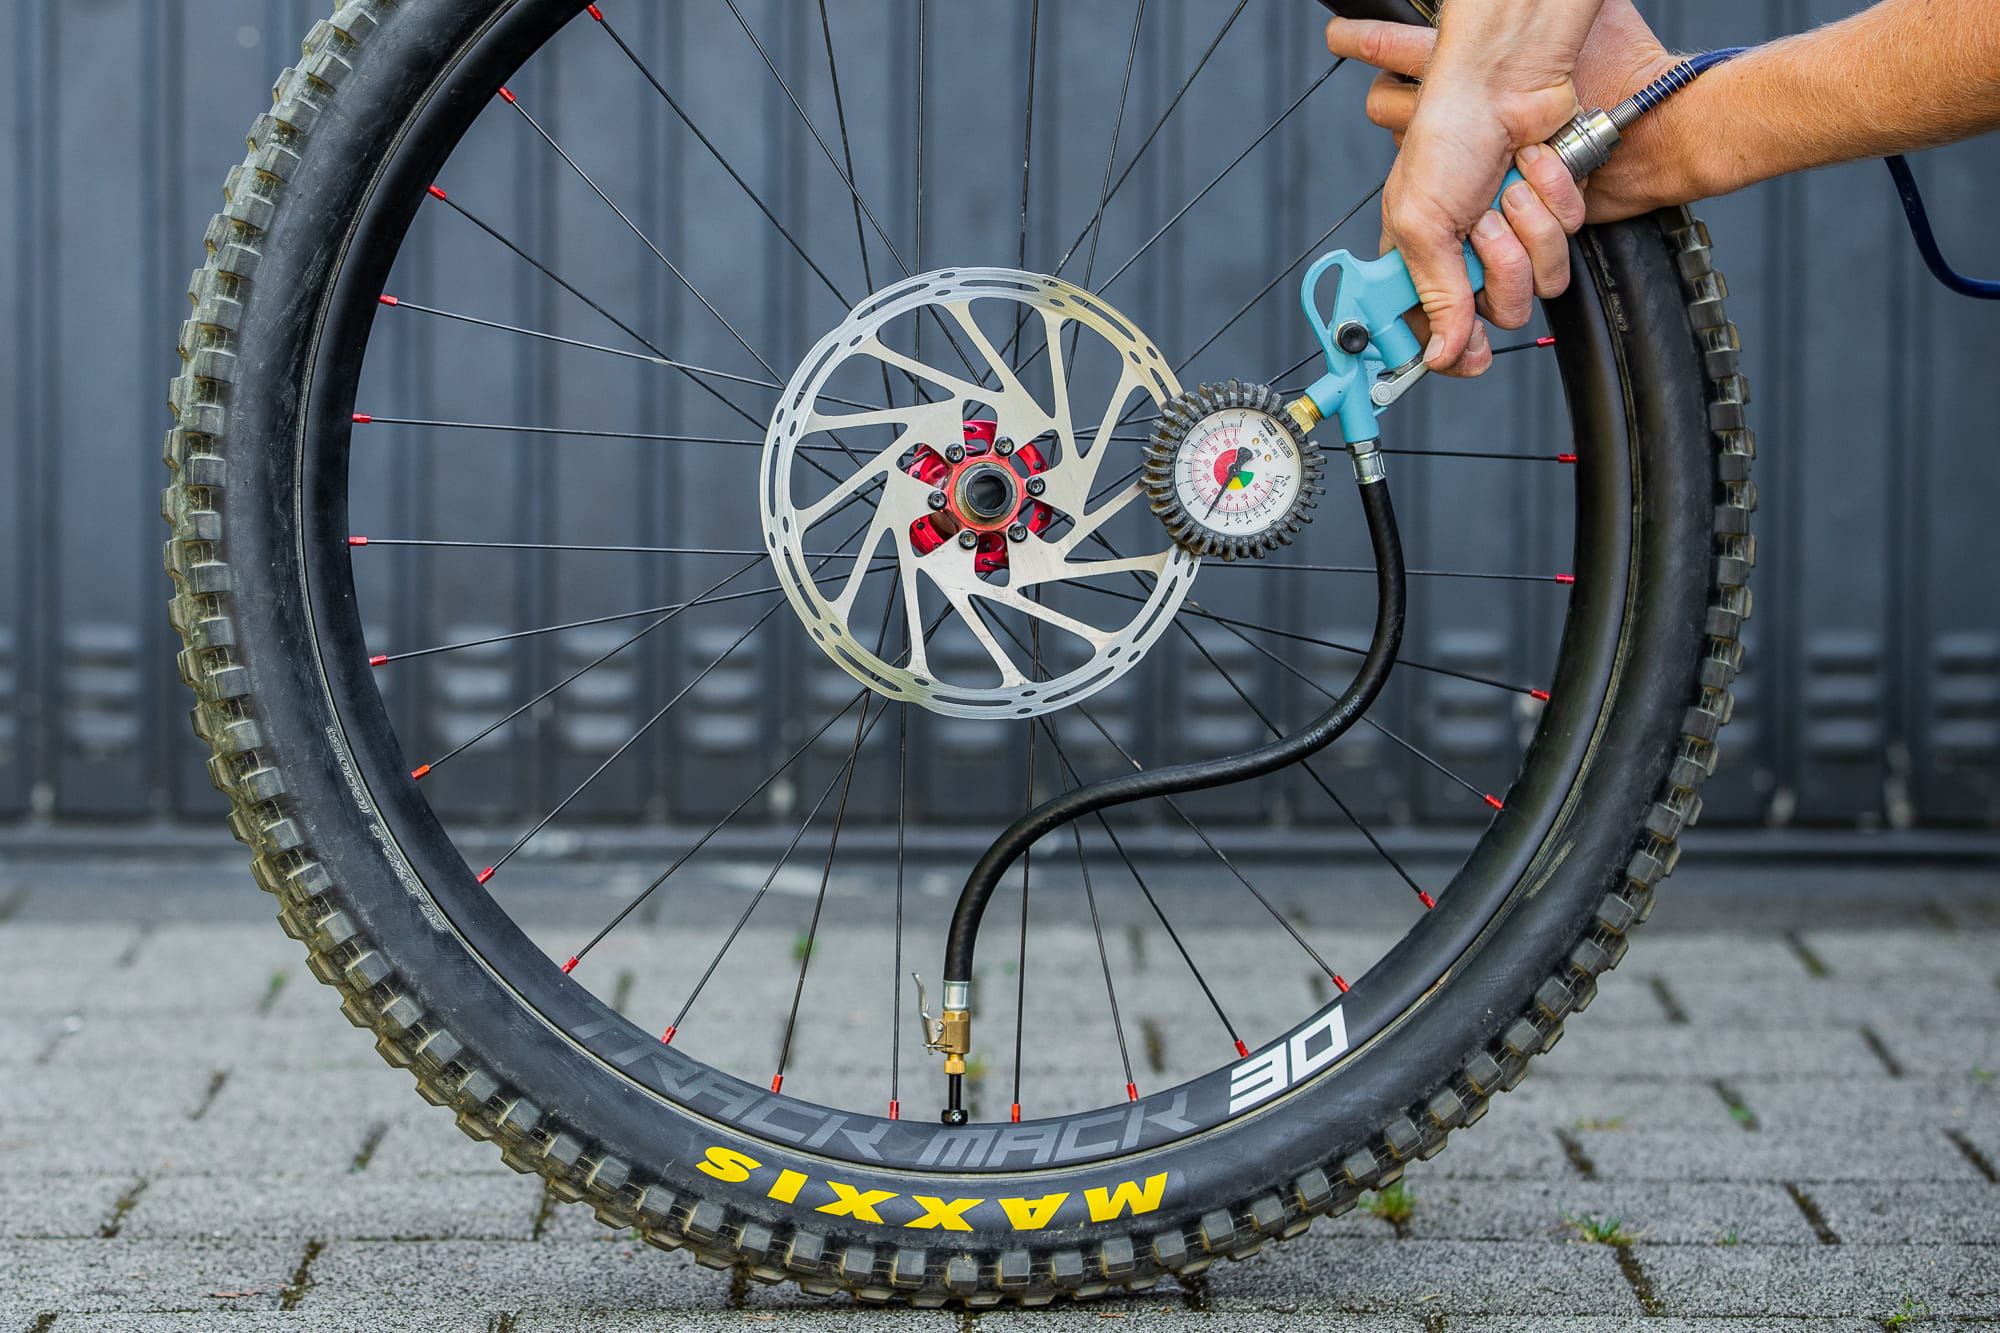
Pump up the tire again. It’s best to pump up a little more pressure than you would actually ride. This way you can be sure that the tire presses well into the rim well. You can then let out enough air until your desired tire pressure is reached.
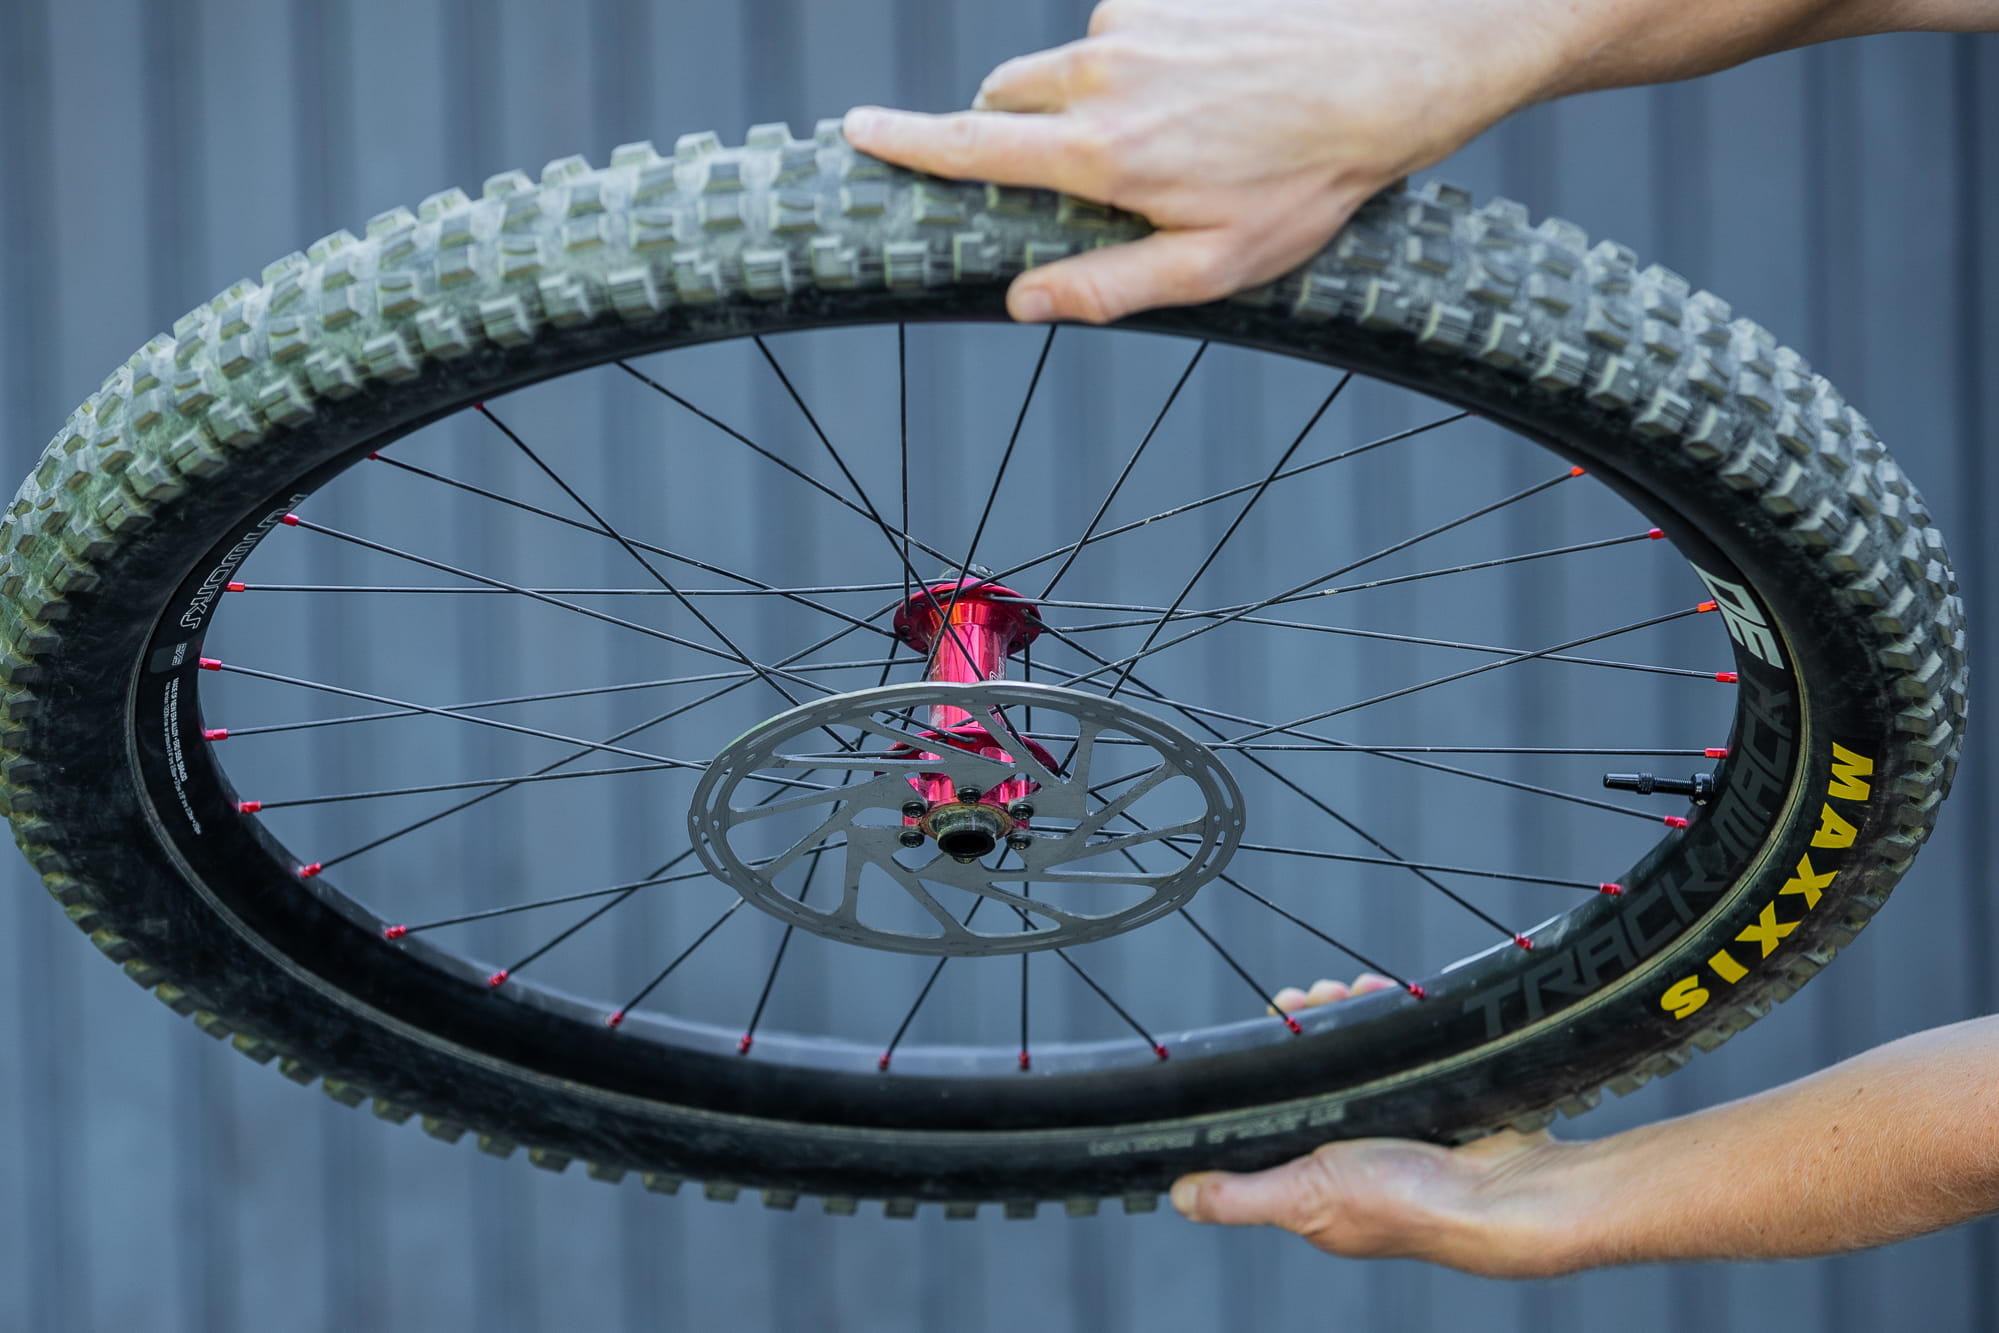 Finally, it makes sense to turn the wheel around its own axis a few times to distribute the sealant well in the tire.
Your BMO team wishes you lots of fun screwing and riding tubeless!
The advantages of an MTB wheel with tubeless tires
With a tubeless system for your bicycle tires, you benefit from numerous advantages, which we have listed for you in the following section:
- You can run less air pressure with a tubeless tire than with a tire with a tube. As a result, you get more grip.
- Tubeless tires are less prone to punctures, even with lower tire pressure.
- Tubeless systems can independently seal small holes in the tire using the sealant – not every puncture through the tire automatically leads to a flat tire.
- Tubeless systems can be combined with additional systems. So you can e.g. Insert tire foam rings and thus minimize the risk of puncture.
- Tubeless wheels can be lighter than wheels with tubes.
More Muc-Off Tubeless conversion kits
Muc-Off offers different conversion sets for different types of bicycles. In addition to the tubeless set for Enduro and Downhill shown here, there are also sets for XC mountain bikes or the tires of your Downhill Plus bike. But you can not only convert mountain bikes to tubeless with Muc-Offsets, but there is also a suitable kit for racing bikes, gravel bikes, and cyclocross.

